 Instagram
Building an Ork Supa Stompa, Part 1
When a Stompa isn’t big enough, SUPA SIZE IT!!!! WAAAGGHHH!
Greetings fellow wargamers! Caleb with White Metal Games here. This series of articles will follow the creation of an Ork Supa Stompa!
What the Heck is a Supa Stompa?
Supa-Stompa’s occupy the middle ground between smaller-sized Stompa‘s and full-fledged Gargants. With an impressive array of weaponry that include Soopa Guns, Macrocannons, and Mega-Choppas, Supa-Stompa’s are often used by Big Meks who have spare parts and scrap following the construction of a Gargant for their Warboss. Supa-Stompa’s are deadly vehicles able to take on much larger vehicles than themselves, including Imperial Titans.
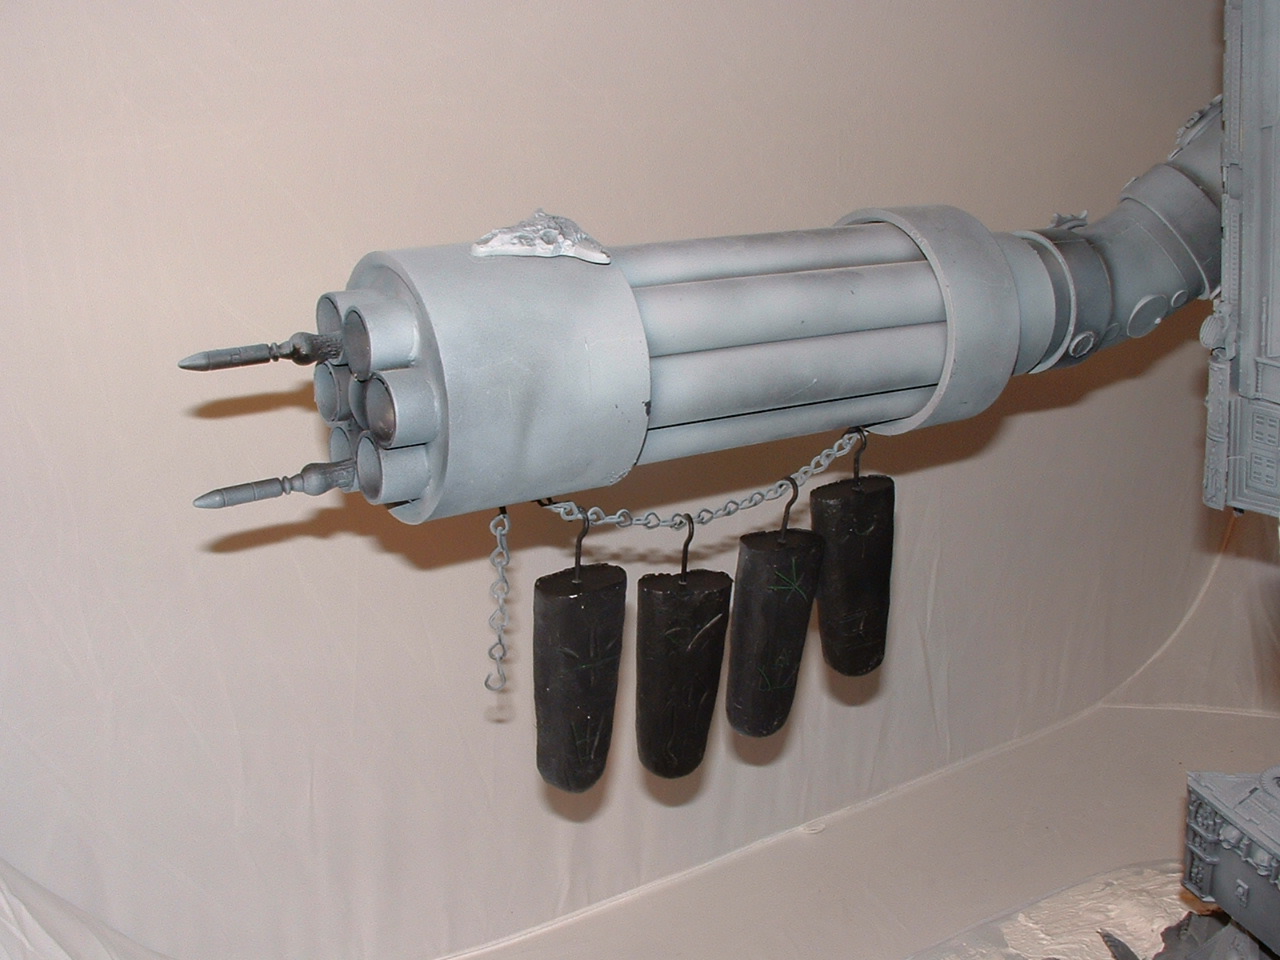
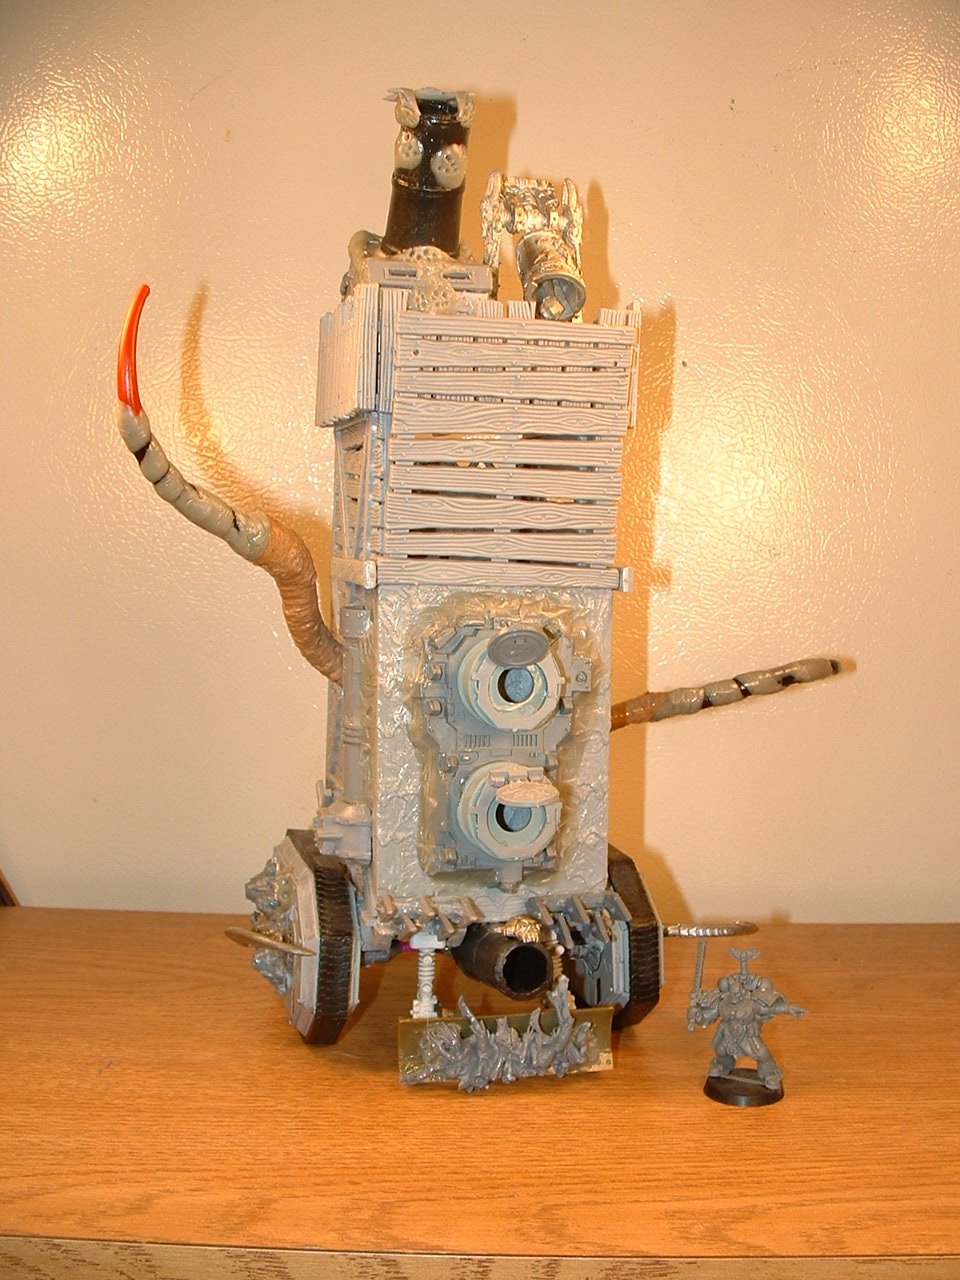
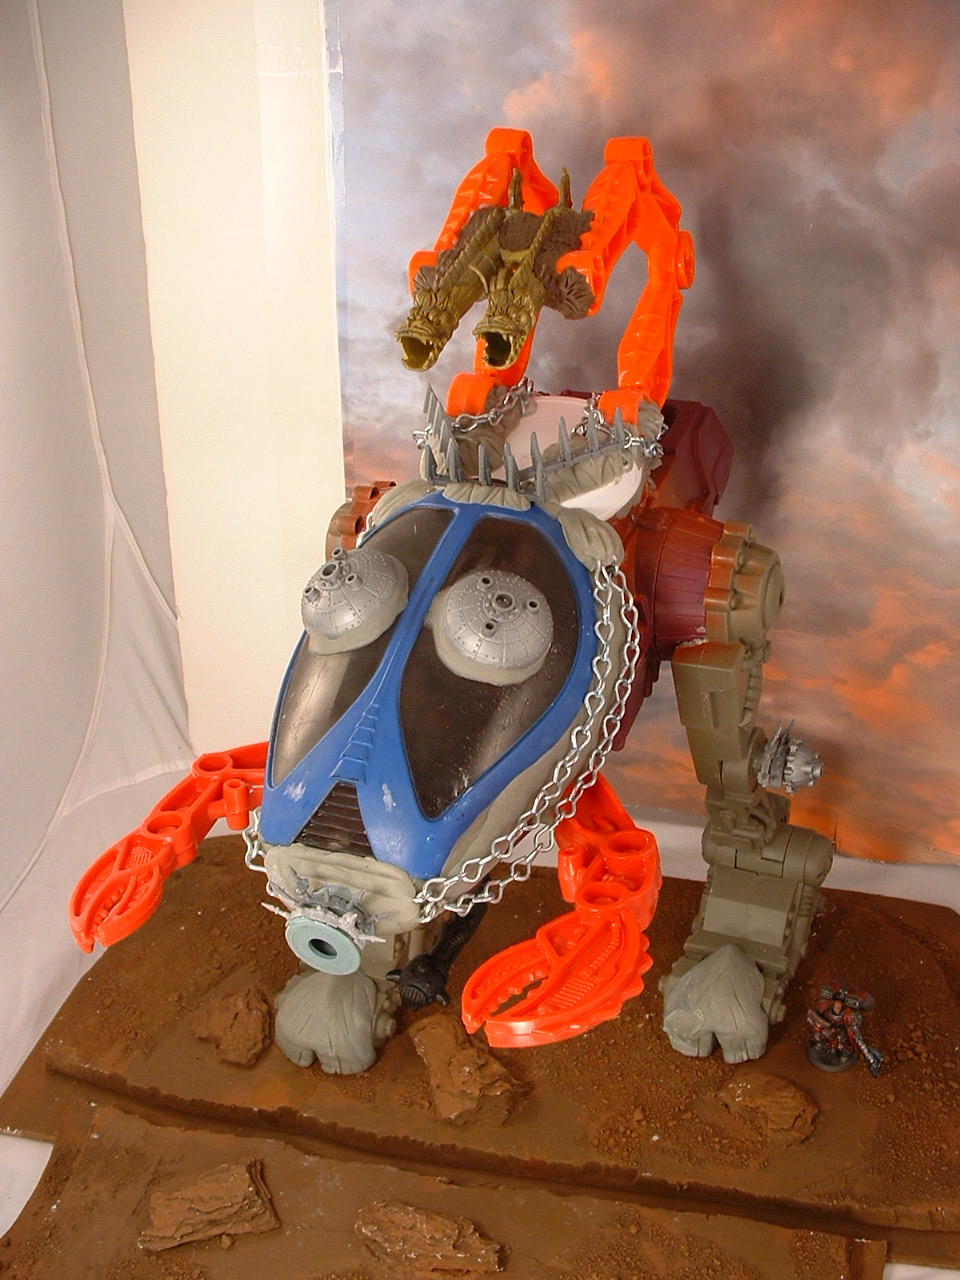
If a Stompa is the Ork’s answer to a Warhound Titan, then the Supa Stompa is the green skins answer to the Reaver. Escalation baby! Gotta love it! A Supa Stompa is an Ork Battle Titan, about the same size as a Reaver Titan. Much like a Reaver has three primary weapons, my Supa Stompa will have a torso mounted belly cannon, a soopa gun and mega tank hamma. The final model will stand between 16-18″ tall or so, although this will largely depend on the early stages of assembly.
To be clear there currently are no rules for an Ork Supa Stompa, but I think simply counting it as a Reaver would suffice in most games of regular 40k.
How Did this Project Come About:
Over the past few years, we’ve continued to challenge ourselves at WMG to create bigger and cooler models! Kit-bashing is a staple of our business, and from the beginning we knew it was only a matter of time before we attempted a titan of some sort.
Our early attempts were, well . . . look, you gotta crawl before you can walk, alright! Here’s some of our more notable and in some cases more unwieldy results. For whatever reason, back in 2011 I got the itch to build a supersized Emperor Titan. I called it Mjolnier, and it was a Spacewolf Themed Titan. There were some good ideas here, but ultimately the final product was heavy, very hard to move, and never fully painted.
At the time I was just getting into airbrushing, and painting a model of this size was just overwhelming. I ended up selling the model on Ebay and driving it to the client, about 5 hours away. I didn’t even break even on the project, but some projects you simply have to DO to get a sense for what you did wrong. I’ve love to try to build a model of this size again someday.

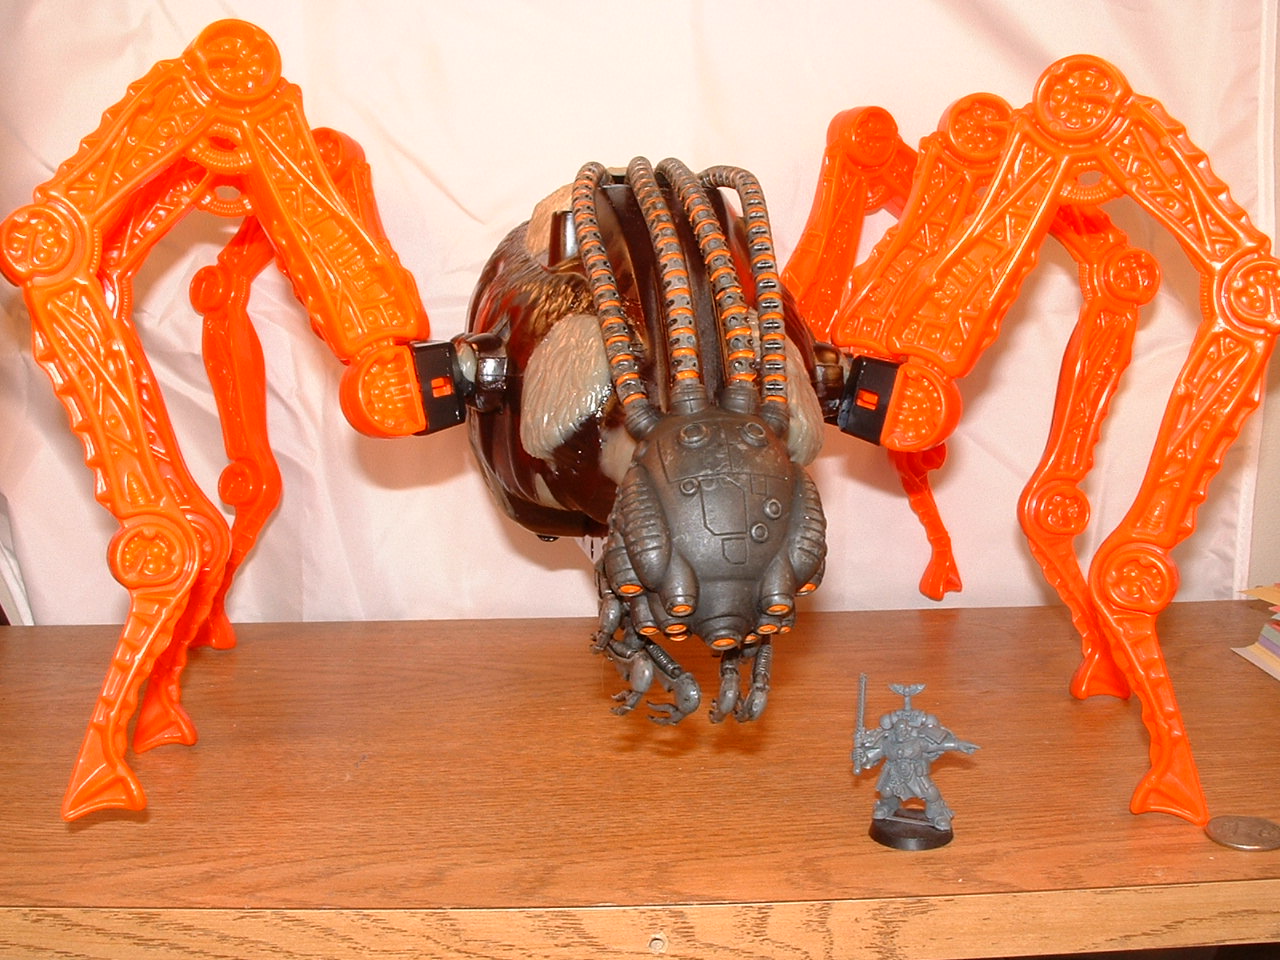
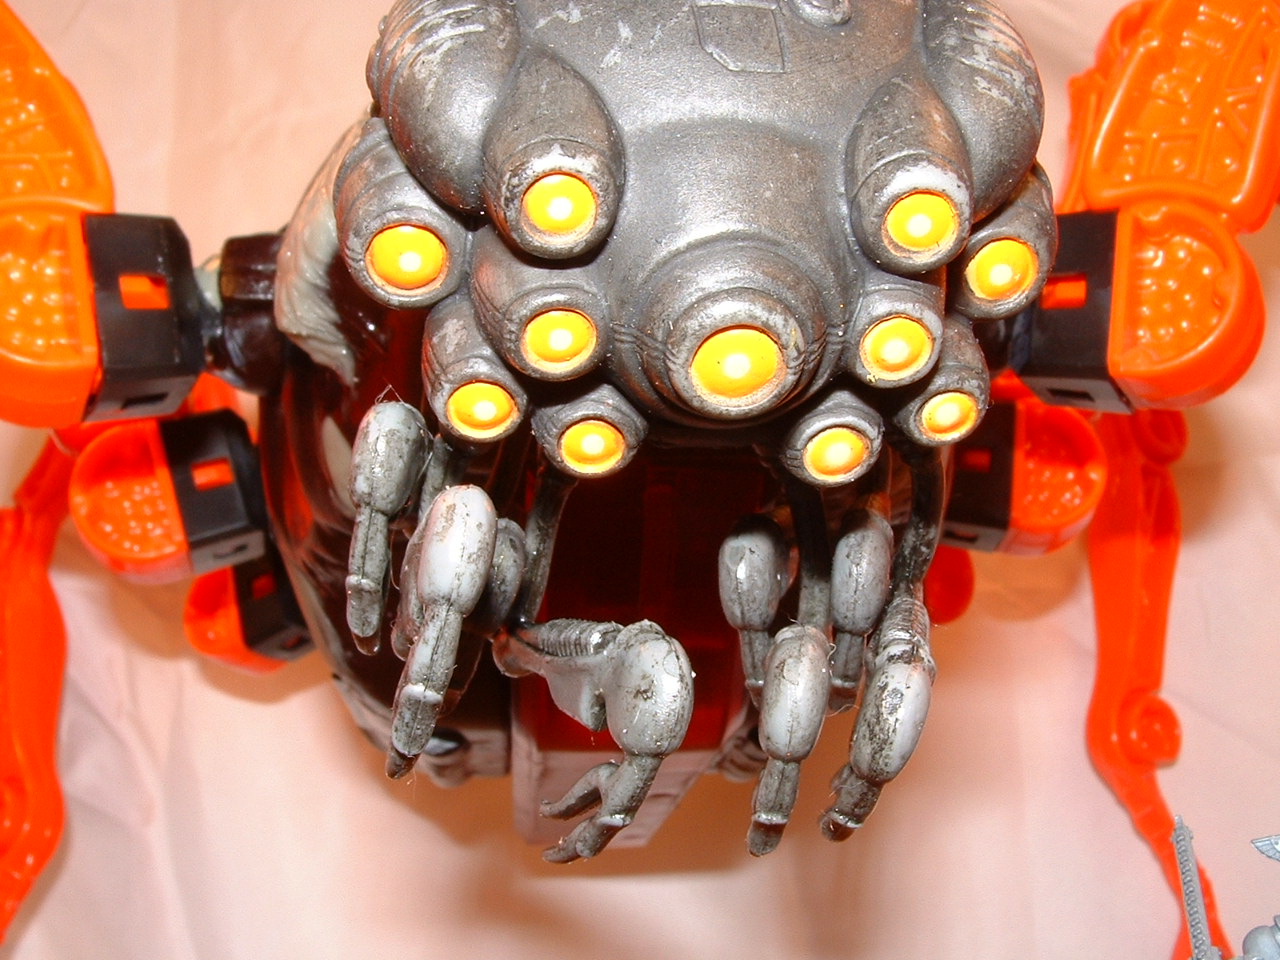
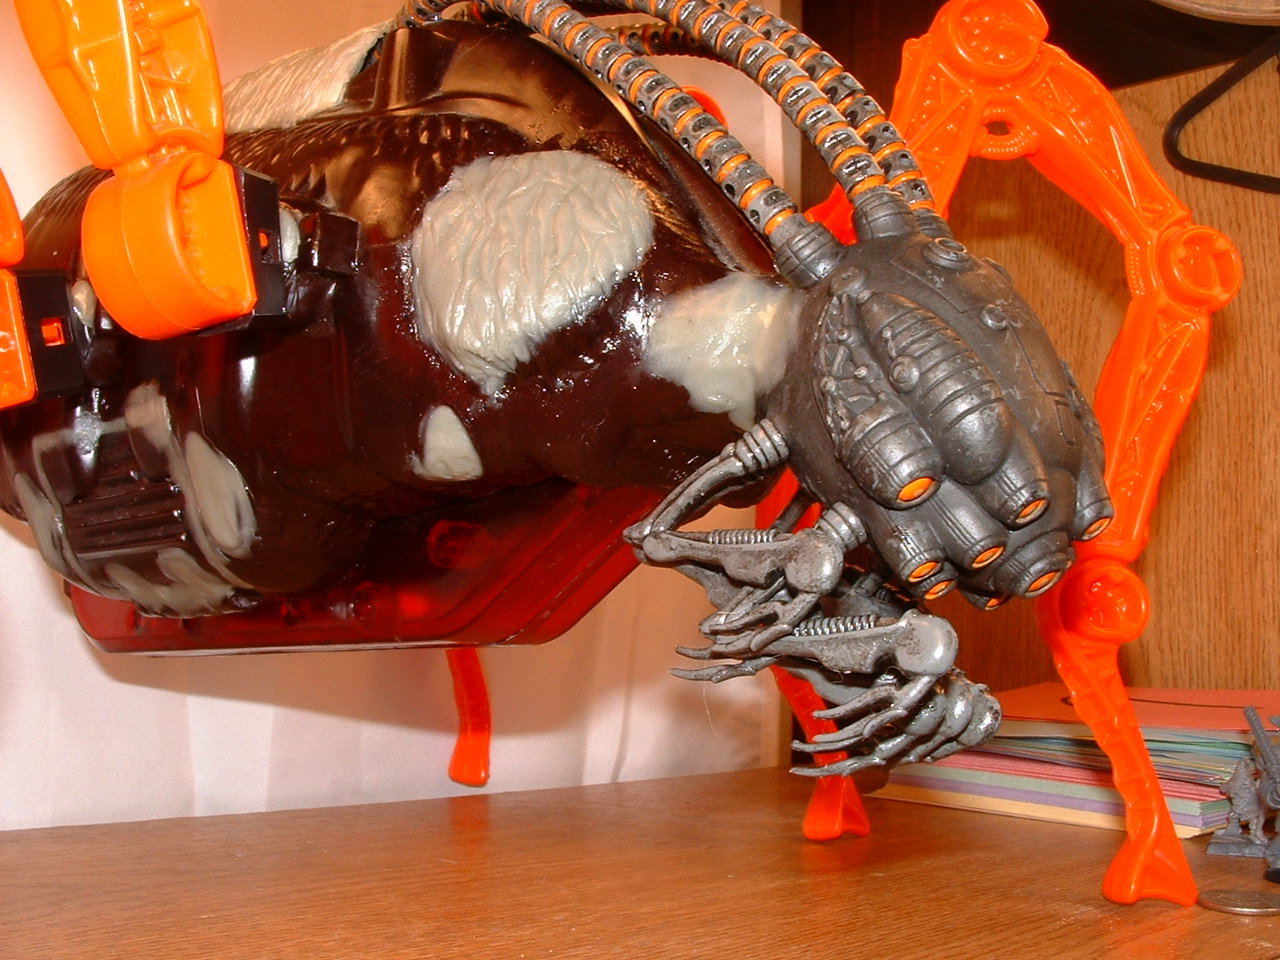
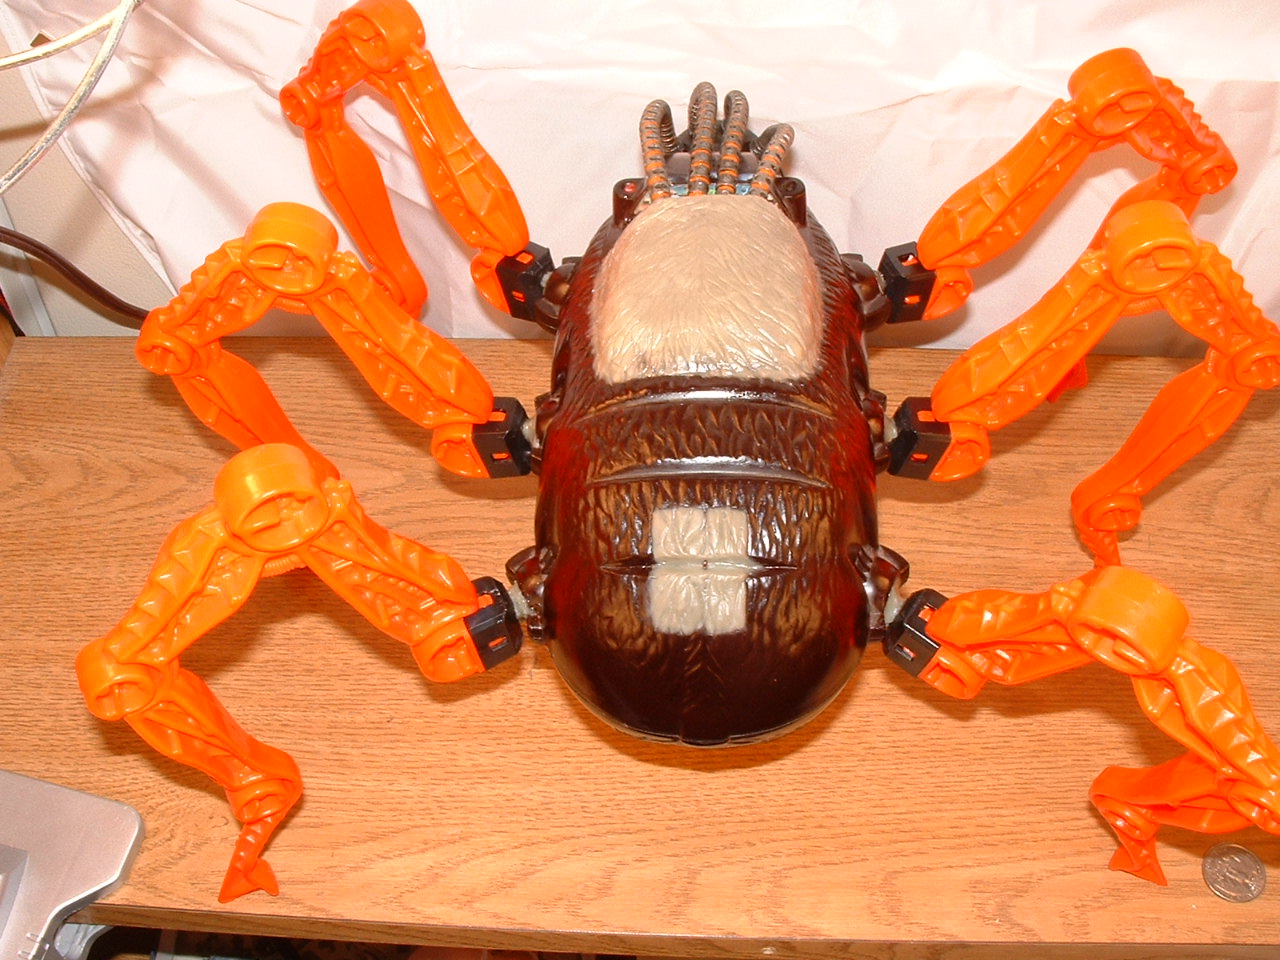
For some reason beyond me, I got into making these Tomb Stalkers for Necrons about the same time. I built them by using an old Heman Spydor toy and a Matrix Sentinel, and a lot of Greystuff.
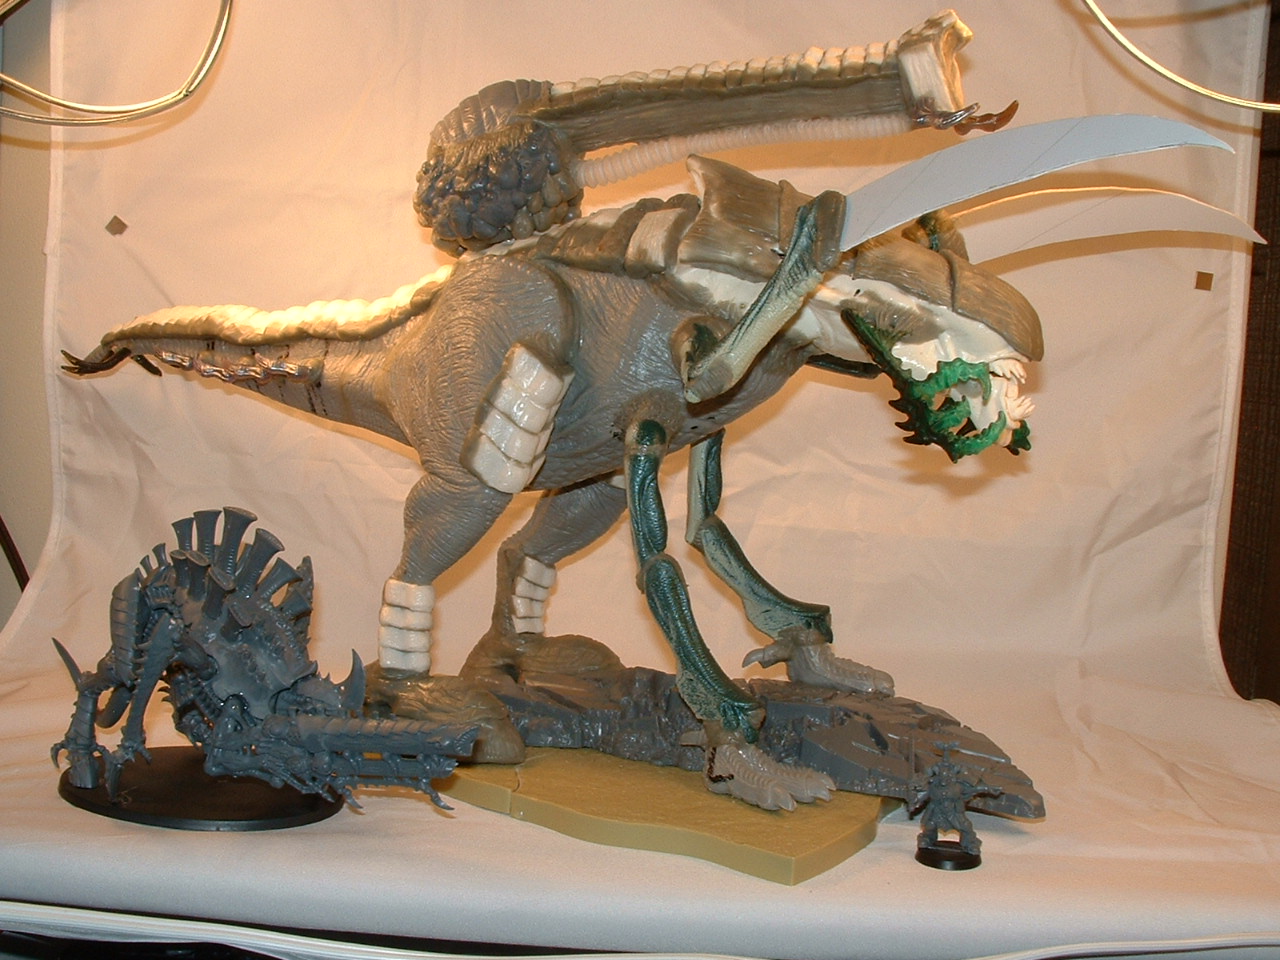
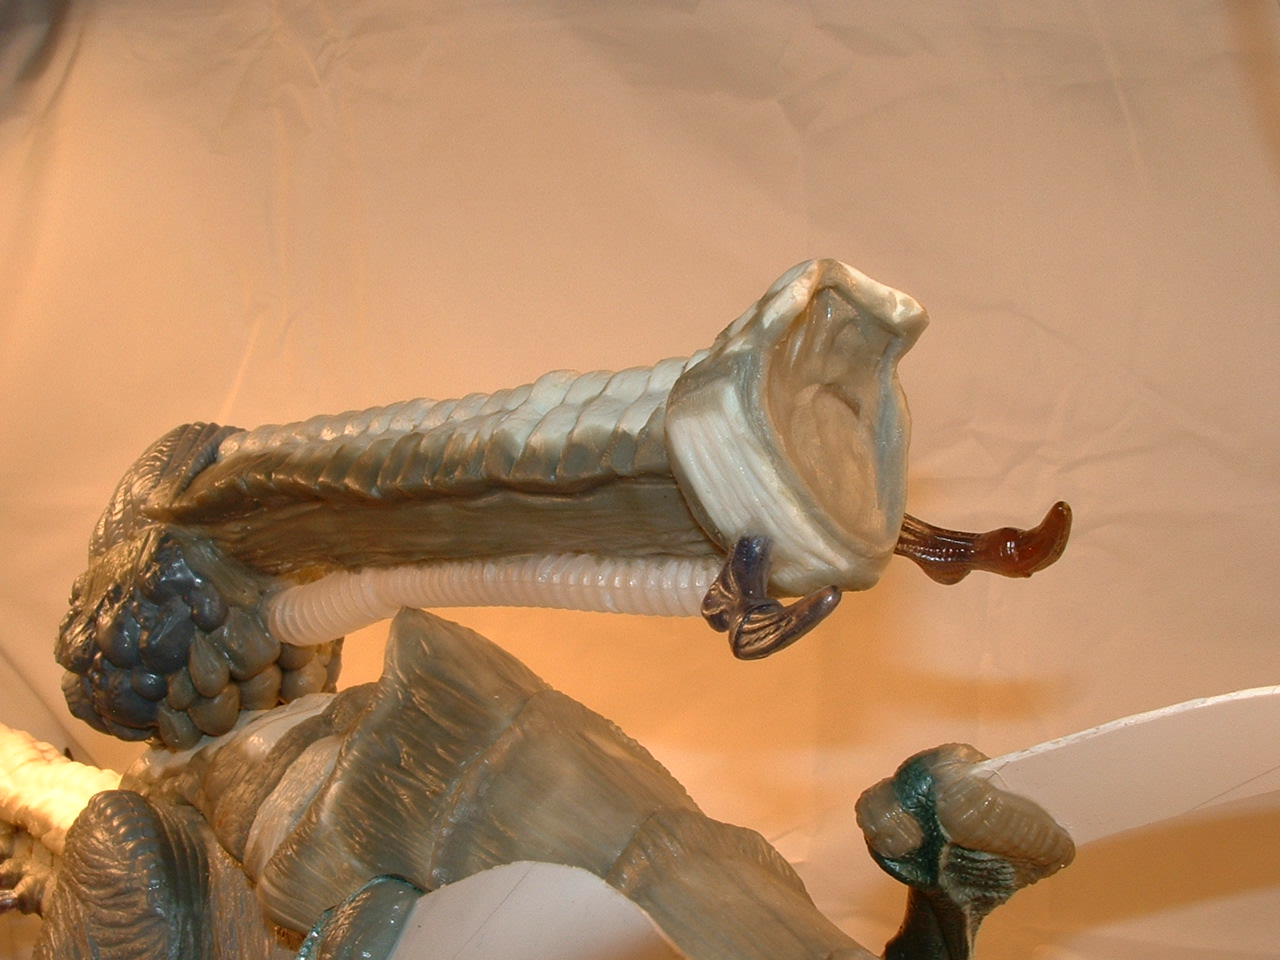
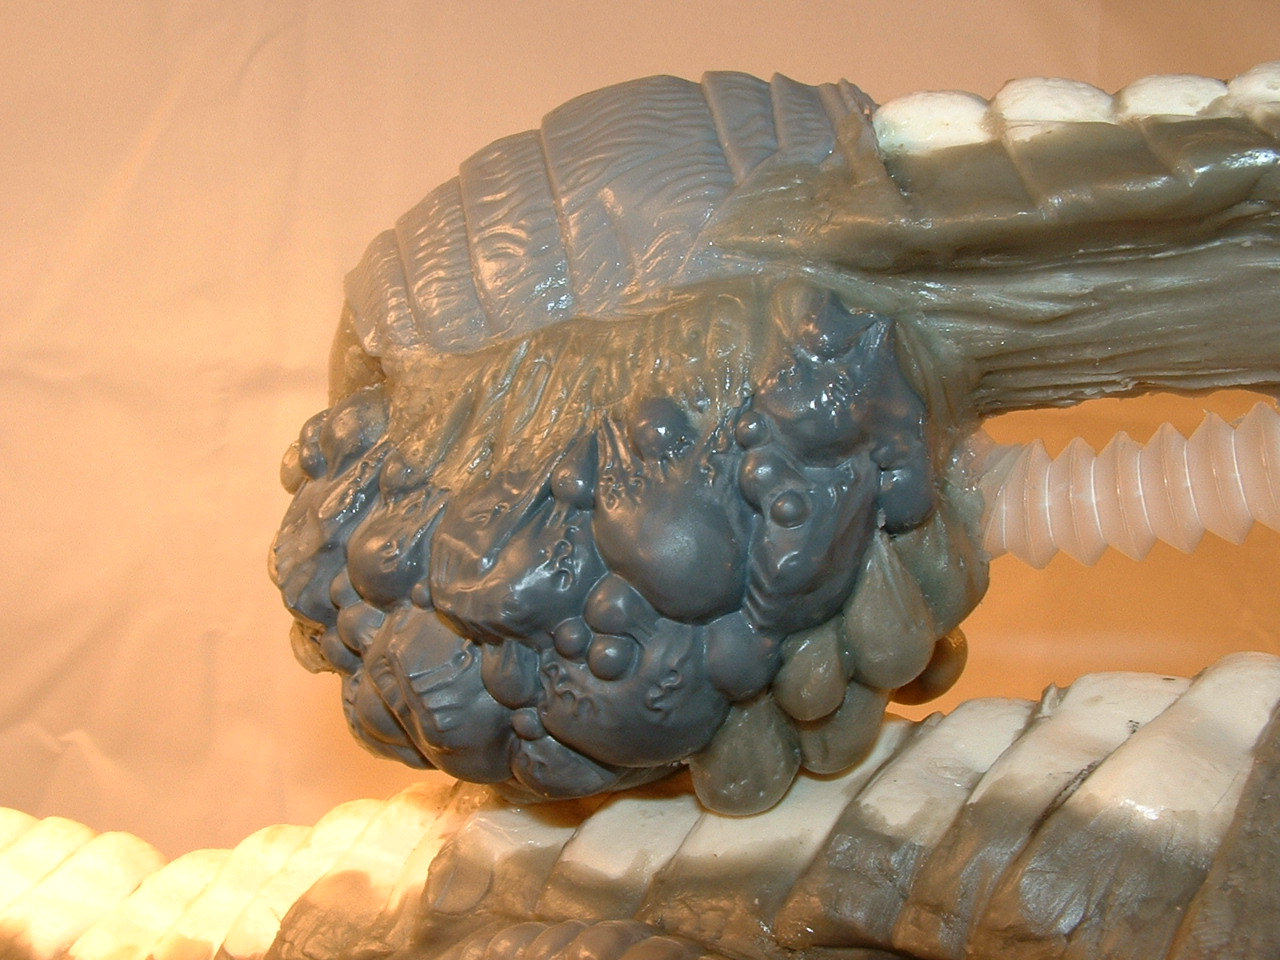
For the Tyranids I really got into building these massive Dominatrix’ (Dominatrixi? Dominatrices?) In retrospect, they are MUCH too big, and they should really be about the size of a Tyranid Knight (170mm oval). In more recent years, I took to building a proxy Dominatrix of the correct scale, which I then sold on Ebay. Pictures from that project are here for those interested.

I got the itch to build a Nurgle Plague Tower at one point. The tracks are from a Tie Tank if you can believe it or not. Not bad, even by my standards today. Like everything else, I sold it on Ebay unpainted and moved on to whatever was floating my boat next.
Probably one of my most embarrassing attempts to date, this was a Slaanesh Subjugator Titan or at least my worthless attempt at one. You’ll recognize the legs no doubt in a minute or two. The scale was all wrong and the work was sloppy at best by my standards today. The common theme here I think is I’m always trying something new and you have to DO to learn, you can’t just hypothesize all day. Kit bashing and sculpting are skill sets that must be learned and honed over time. Early projects like gave me plenty of practical experience to practice, practice, practice!


Fast forward to 2016 . . . there are a lot of great Titans being generated out there, not only by Forgeworld but also by other companies like Tsipis Games (aka, the Titan Manufactorum, where you can get a Warlord scale titan fully painted and decked out for about $600 USD!) and Dreamforge Games (Leviathans).
All of these companies do great work and bring something new and unique to the industry, but that doesn’t necessarily mean that you can’t still build your own titan! It’s probably years if not a decade before someone will mass produce the first official Ork Gargant, and in the mean time, I wants to build me a titan! Plus, there’s nothing more satisfying than taking some old toys, tearing them apart, and then putting them back together in new and exciting ways.
Safety Disclaimer: I use a LOT of power tools in this project, and all of them are dangerous. If you are under the age of 18, please do not attempt to replicate my work on your own. It’s dangerous and you could seriously hurt yourself. There are times I am surprised I didn’t hurt myself while making this silly robot.
Which leads us to . . . .
EXECUTION -Da Supa Stompa.
If you haven’t picked up on it yet, this isn’t a ‘how to’ article. It’s an overview. I’m going to skip steps from time to time. This is meant to give you a general impression of my workflow and how I got from A to Z, skipping many letters in between.

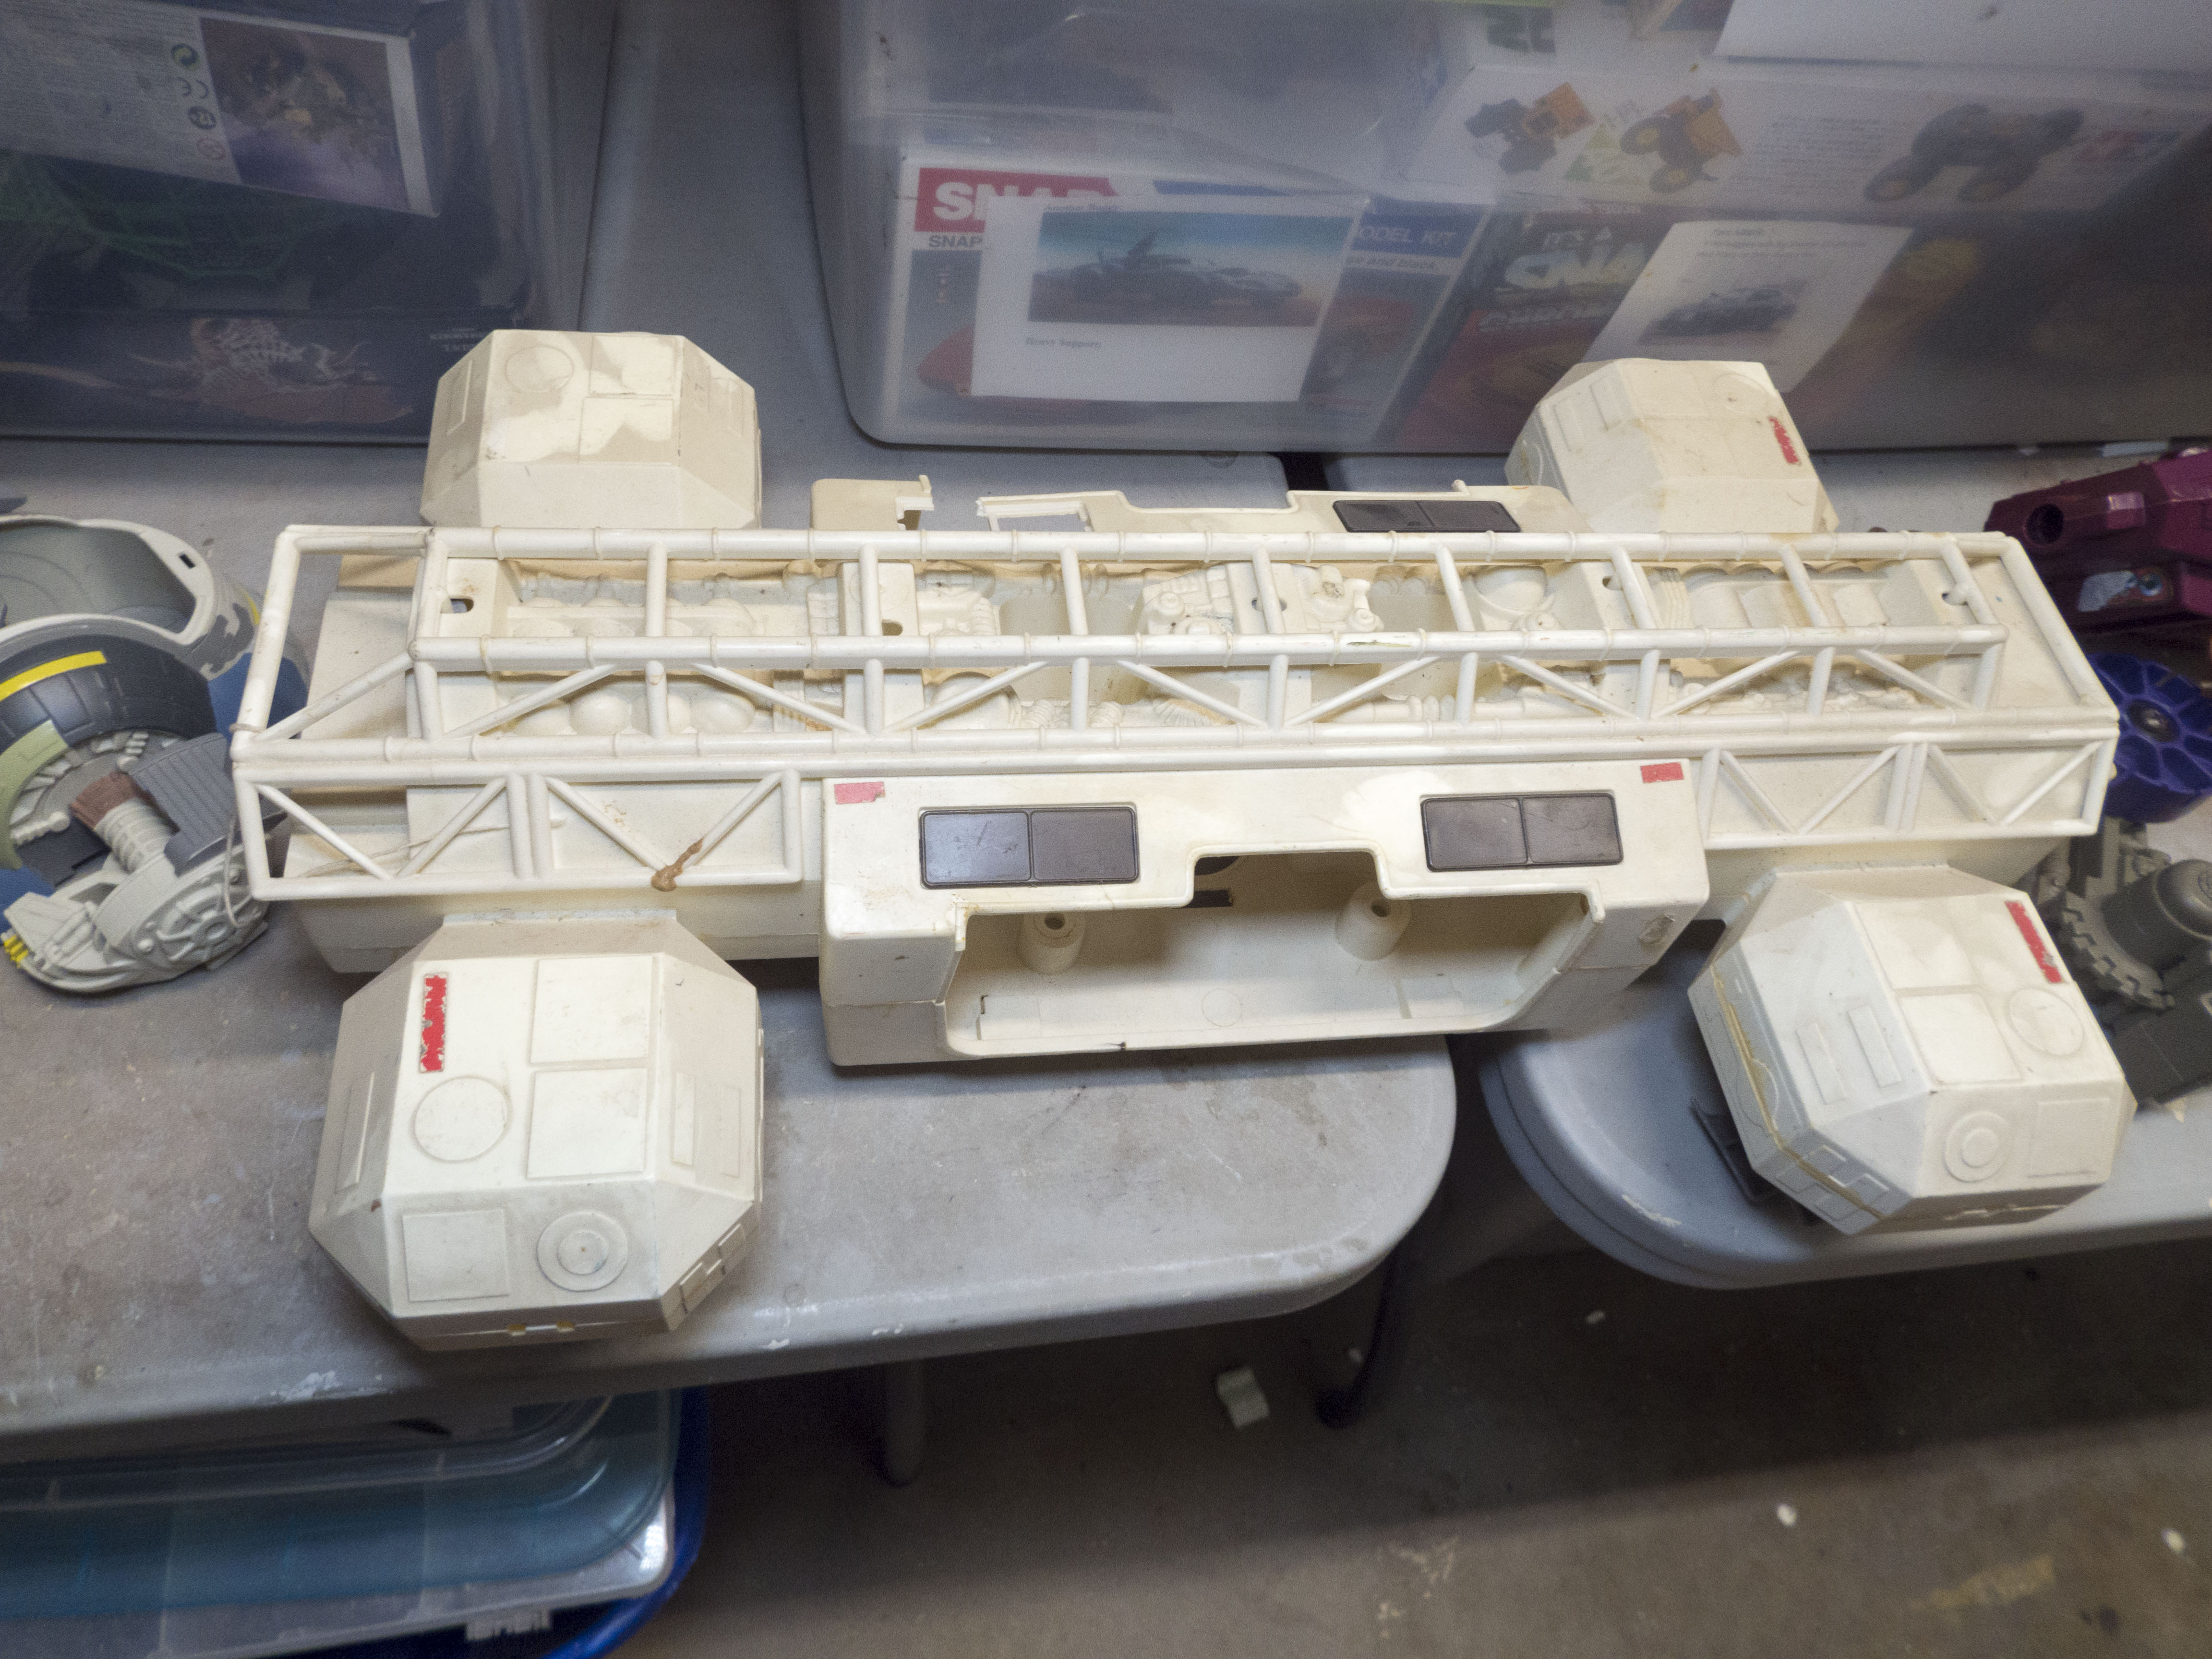
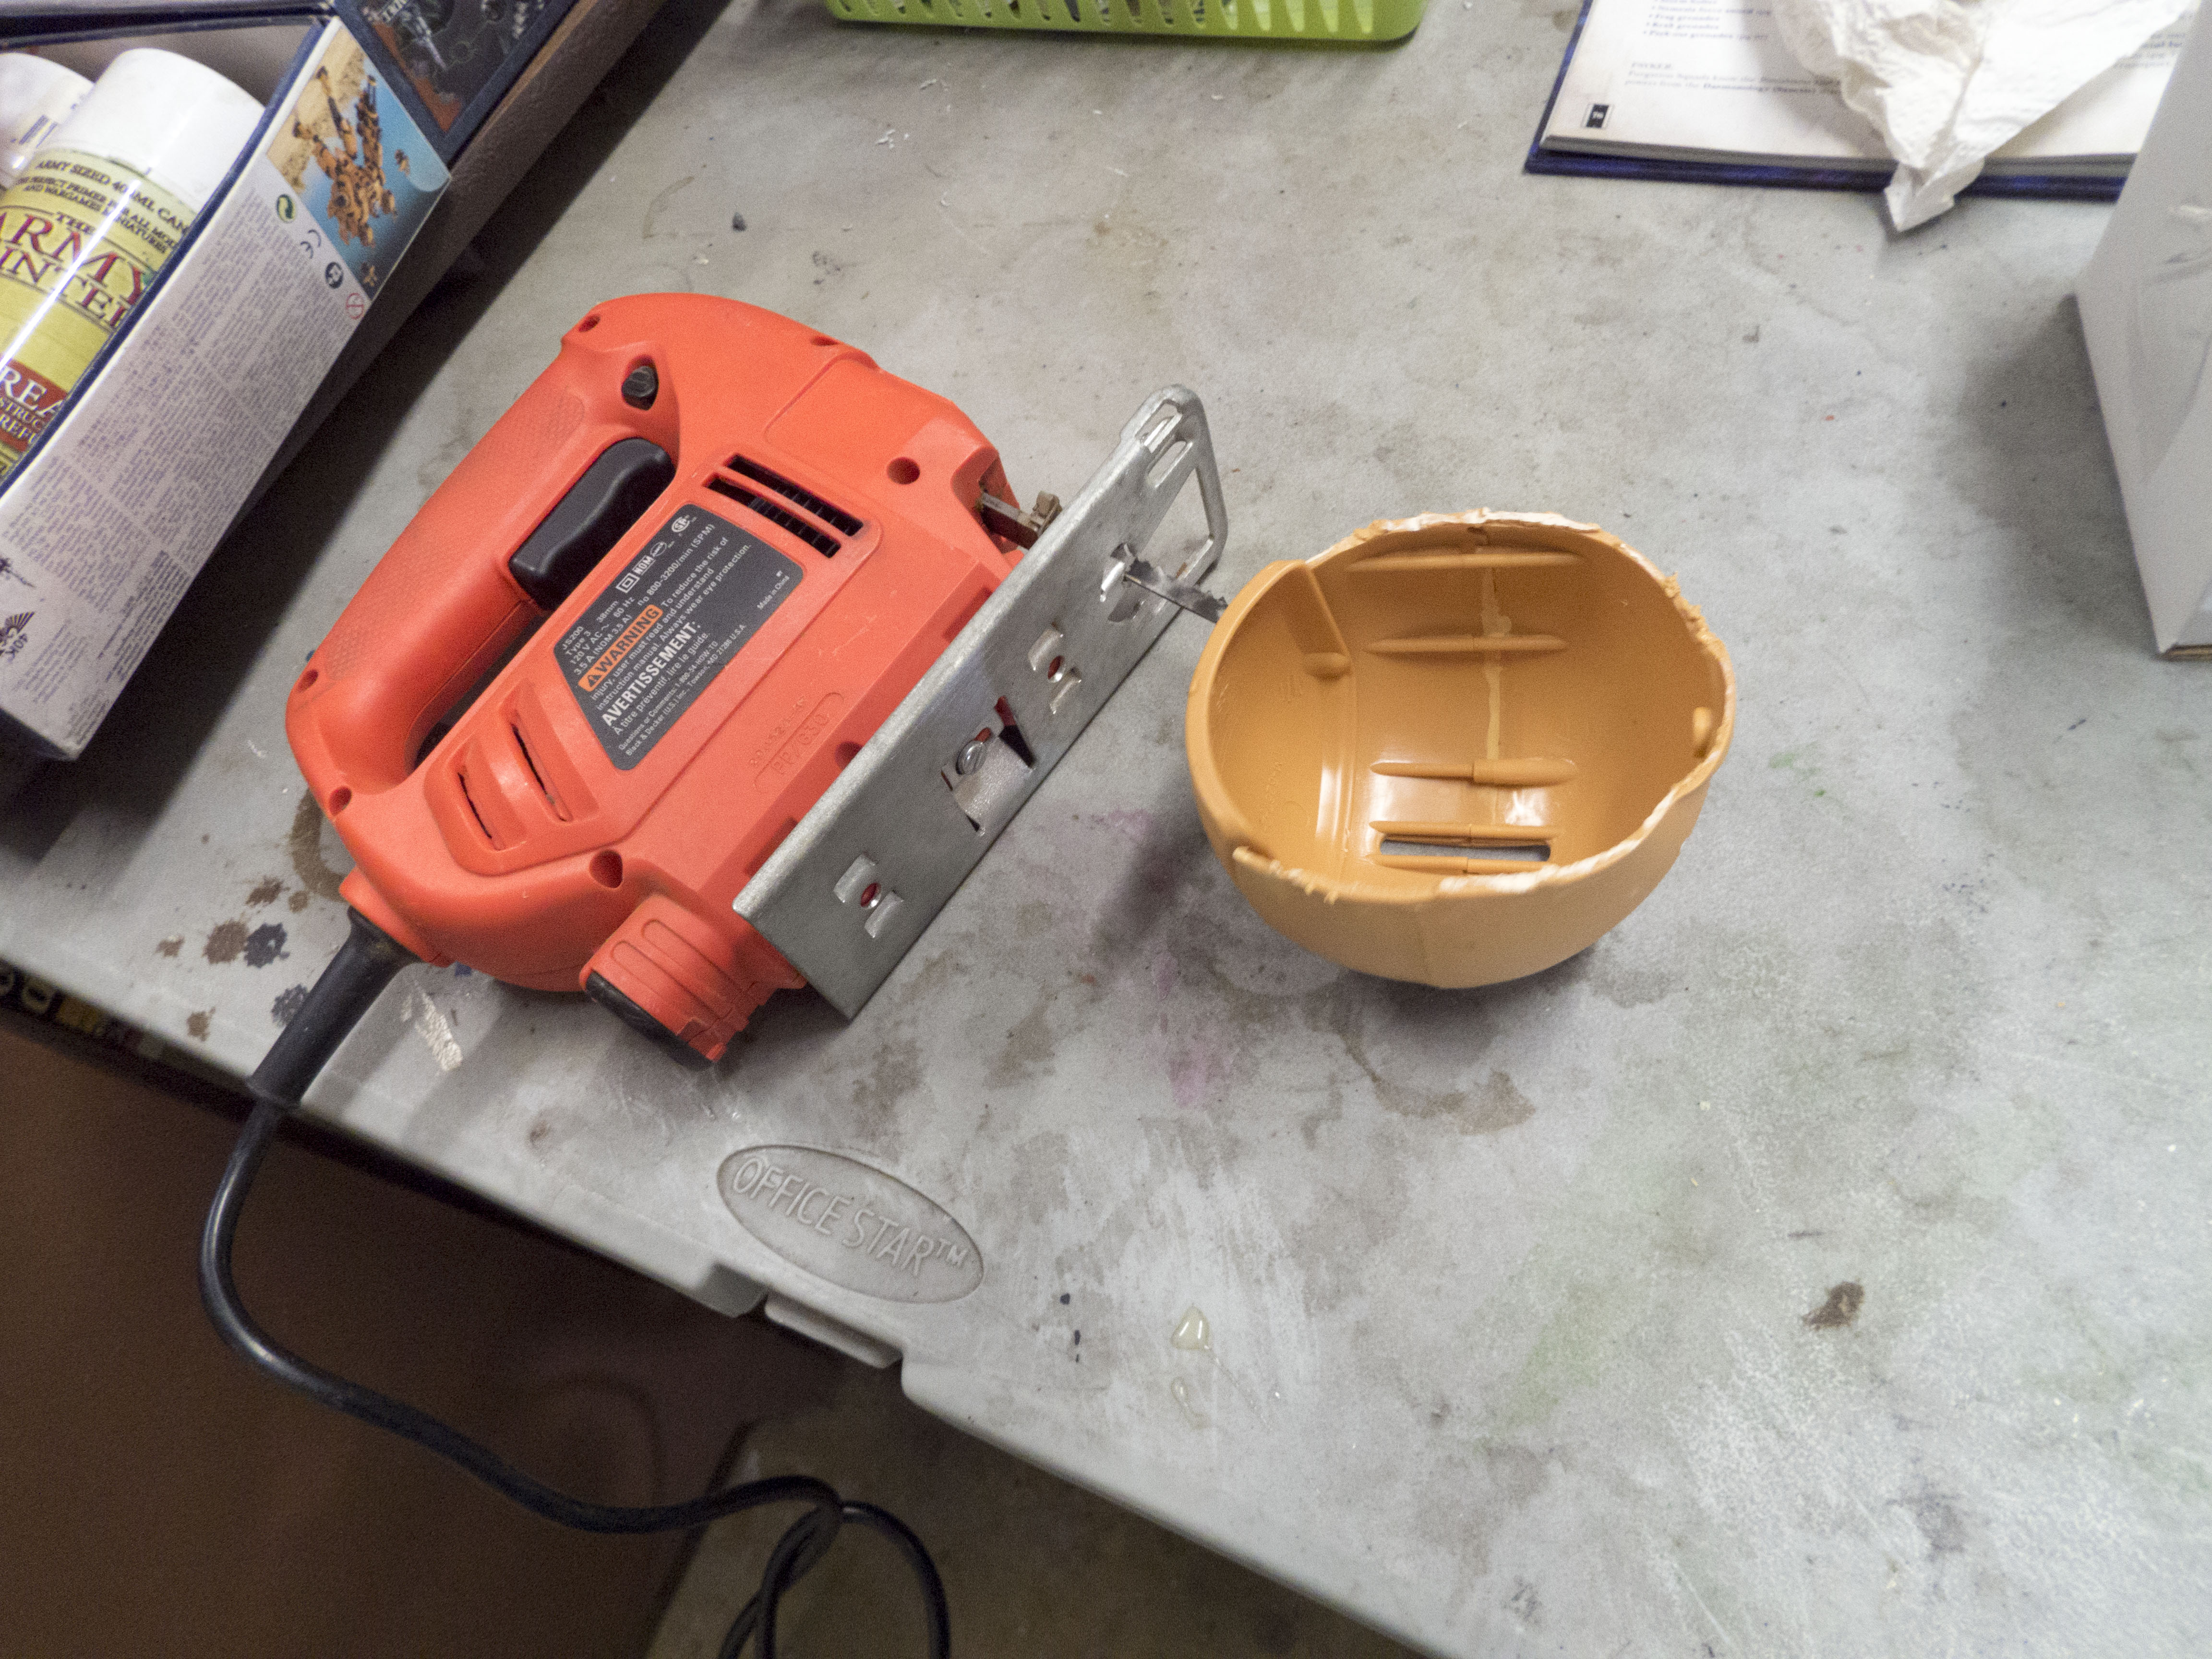
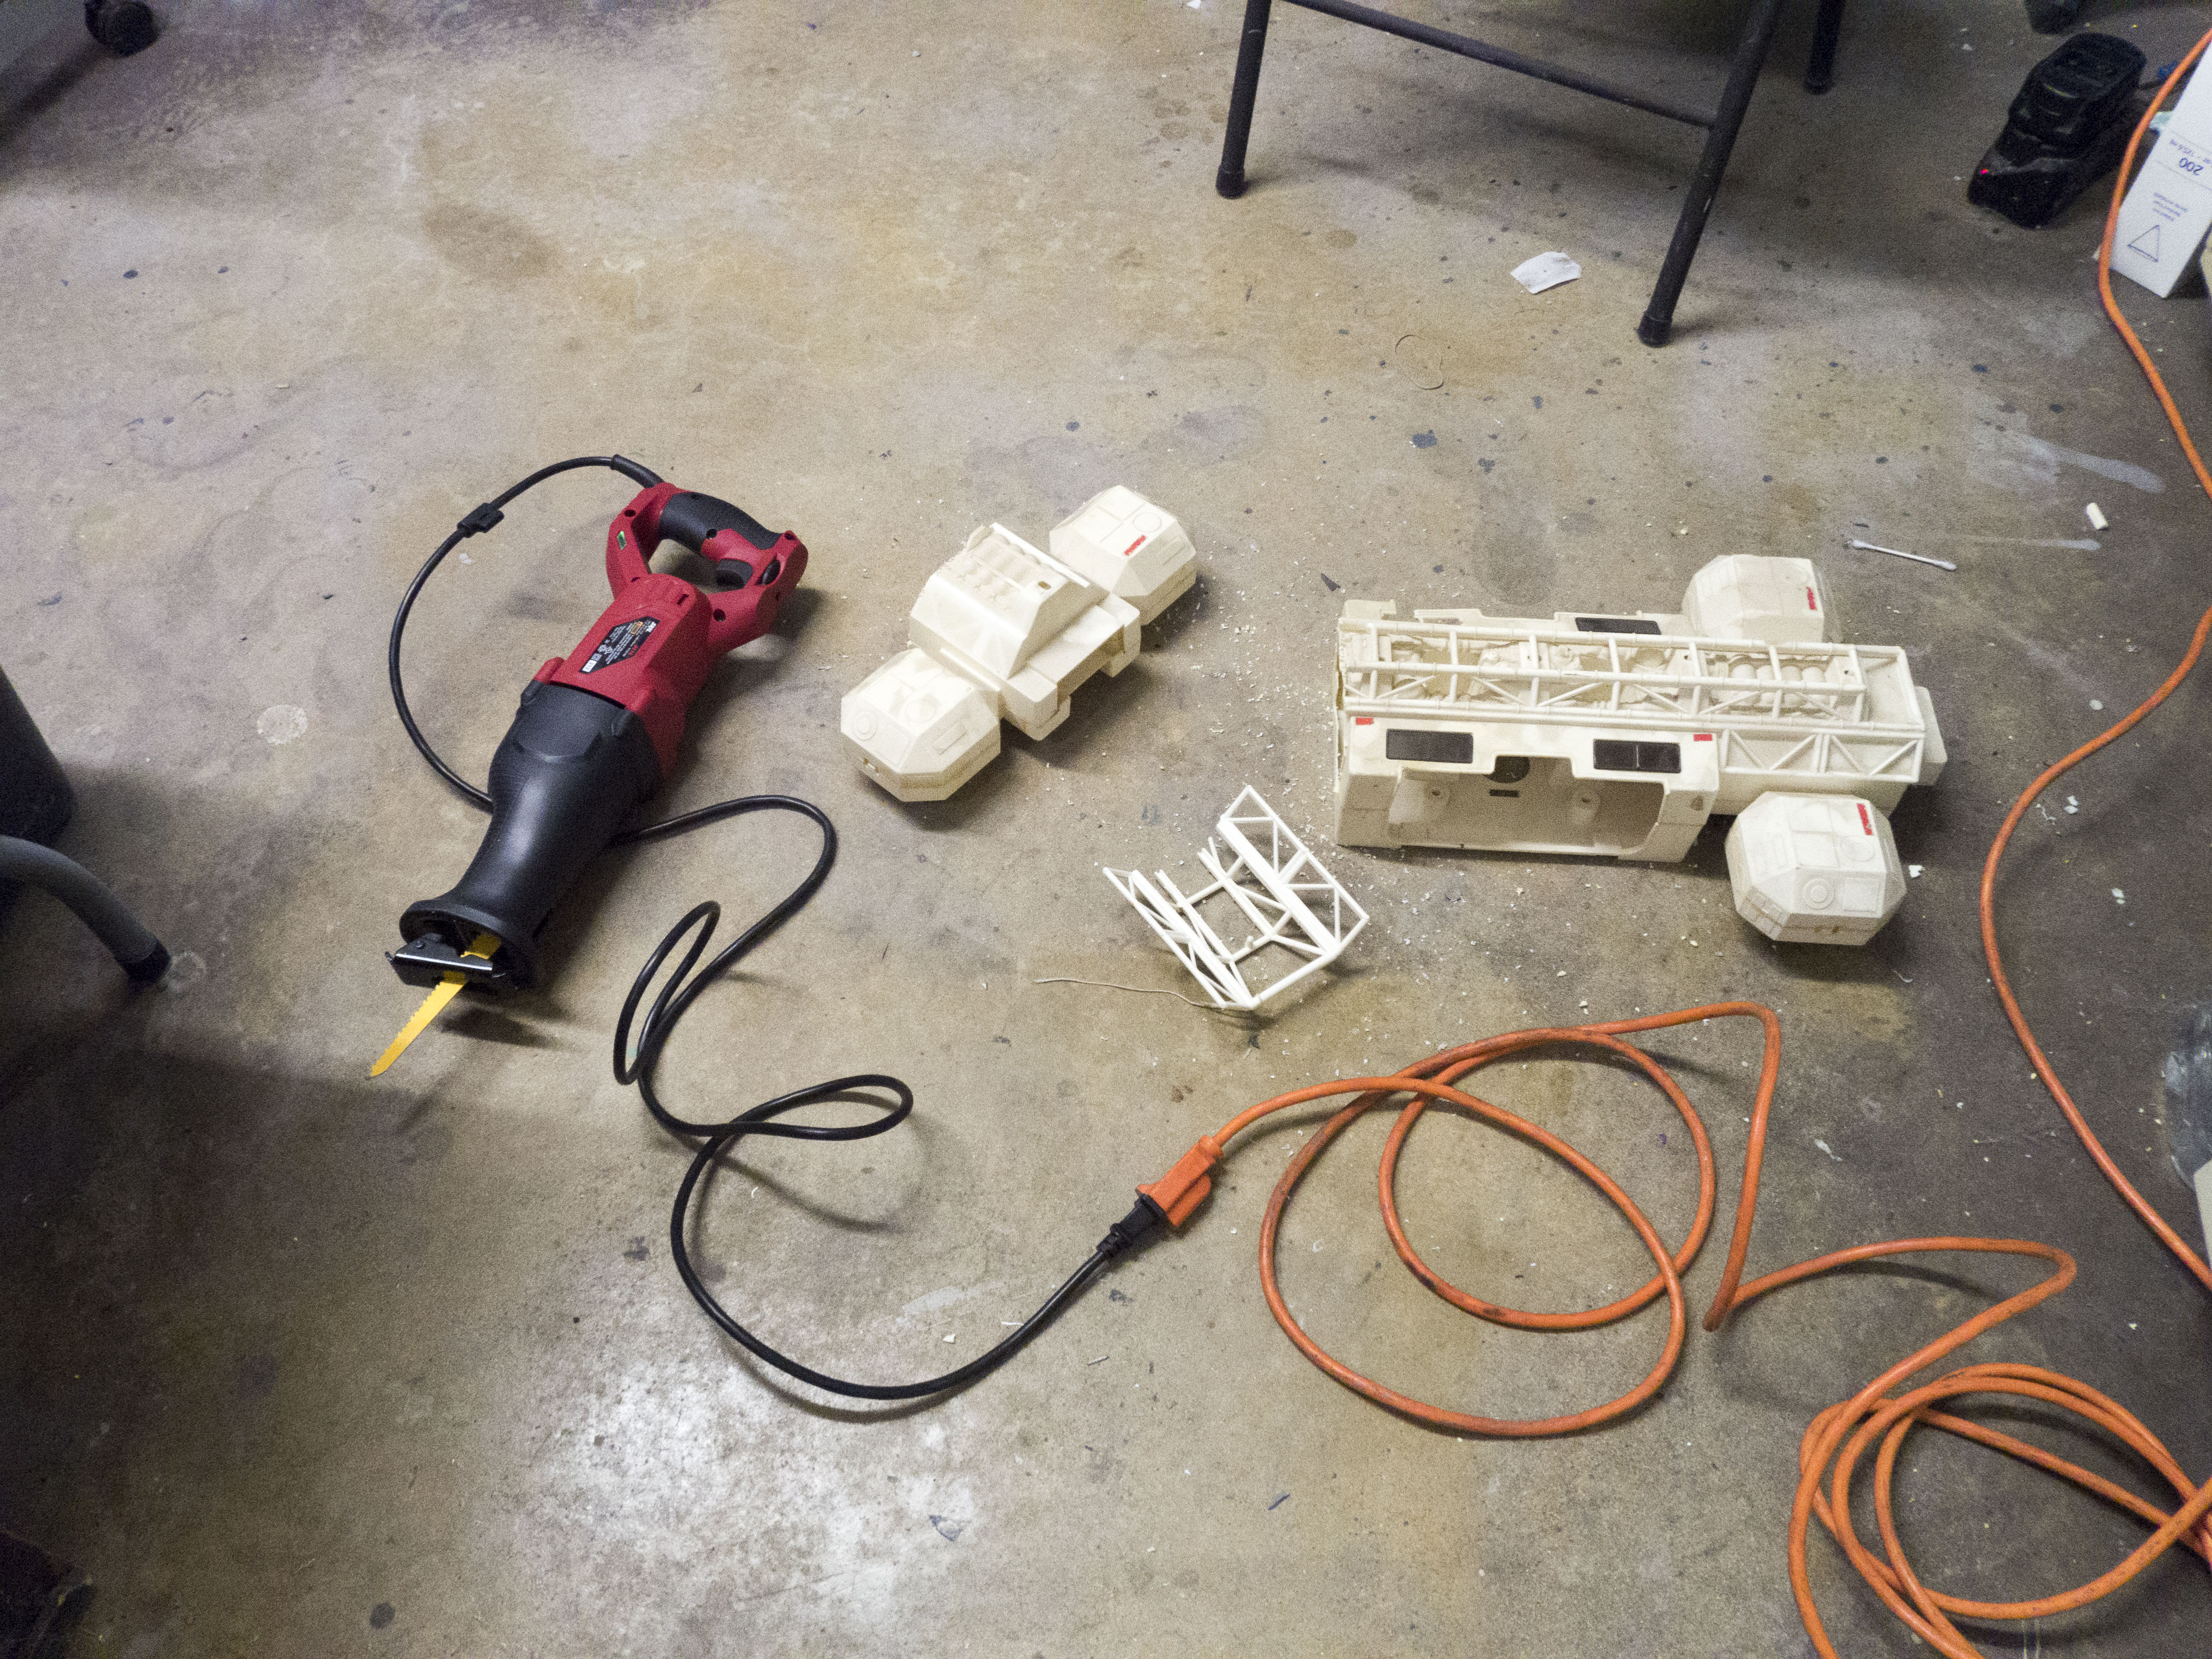
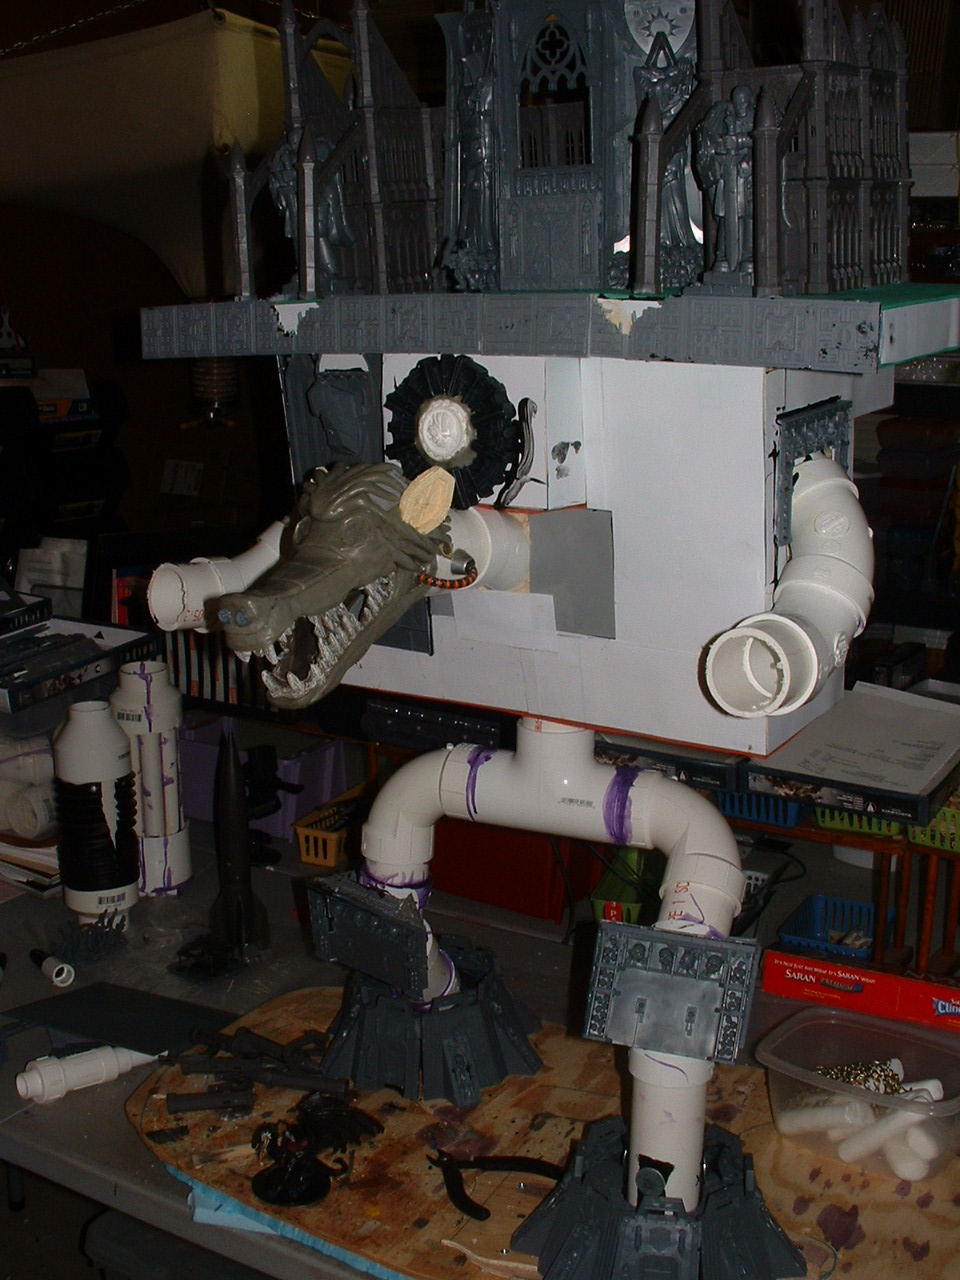
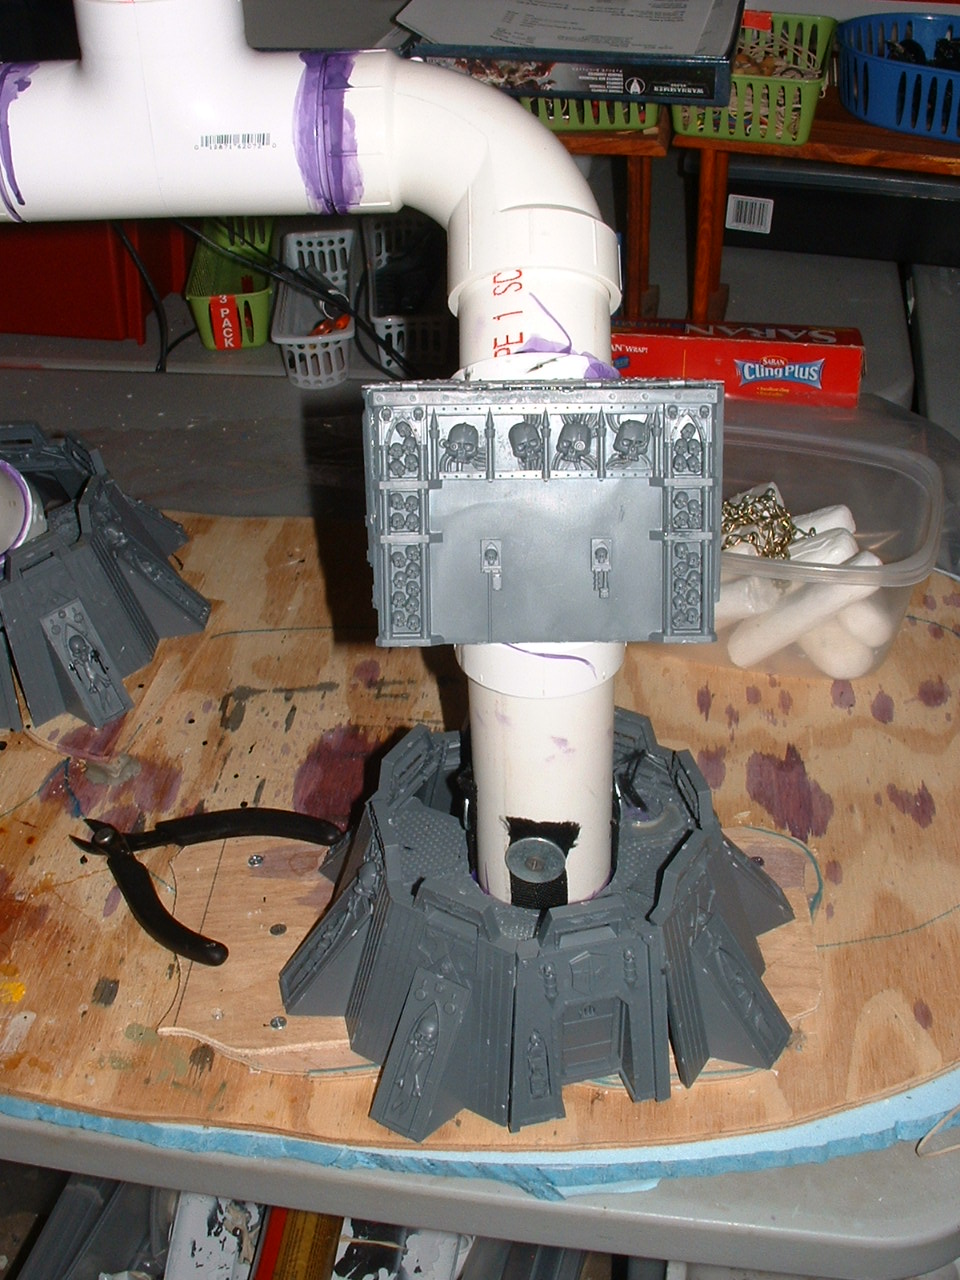
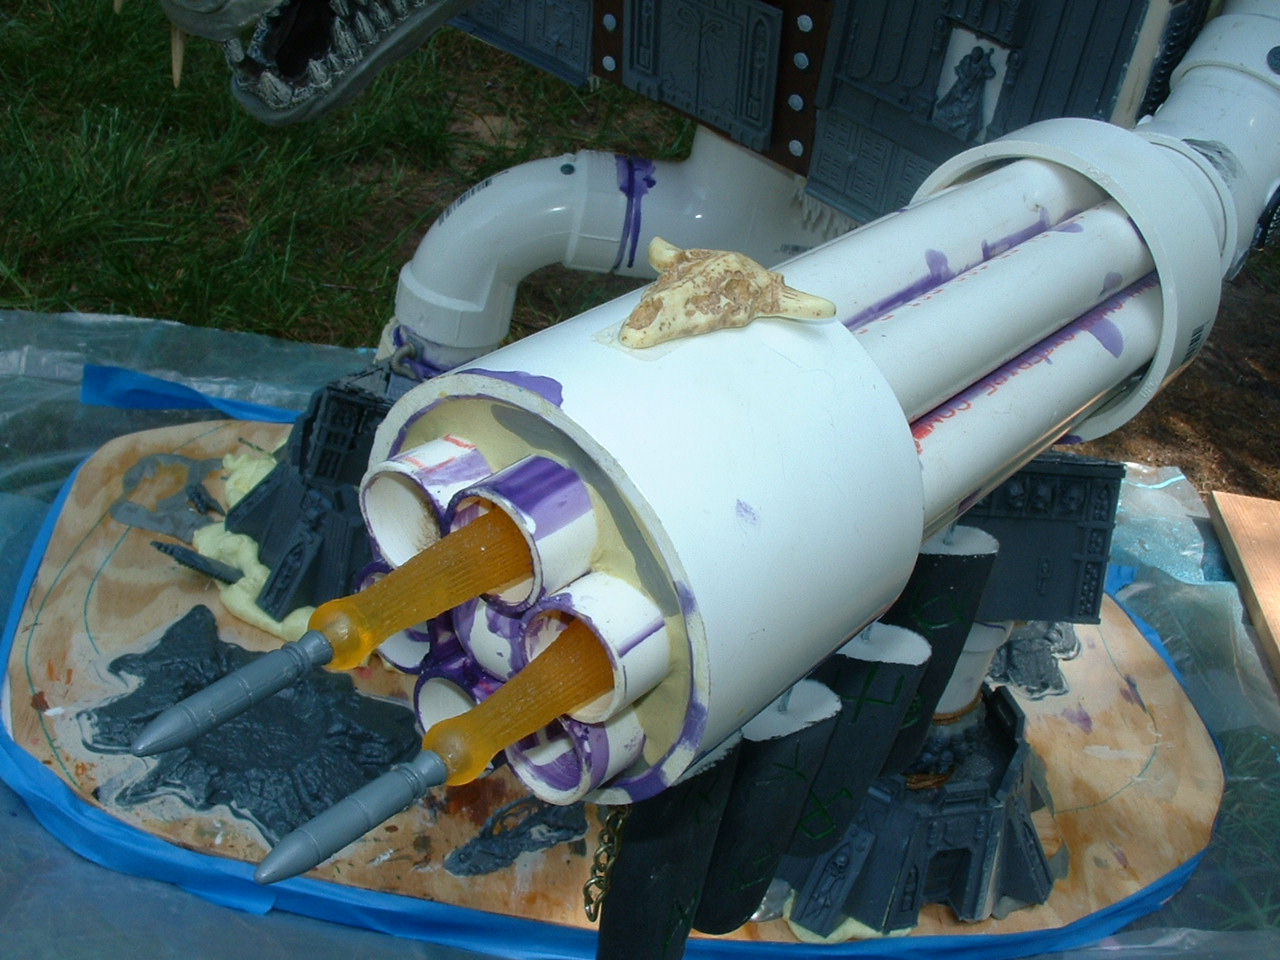
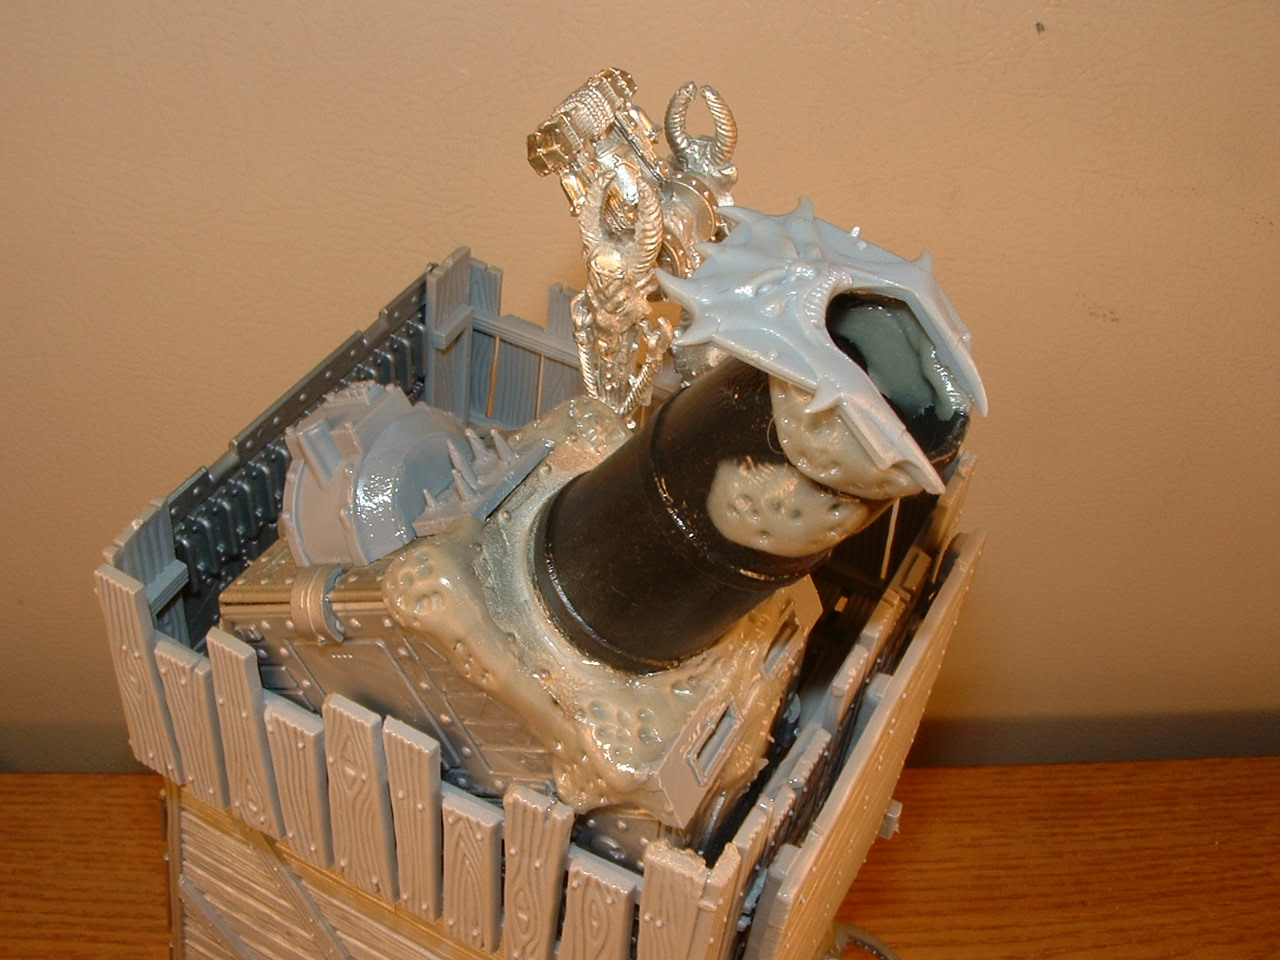
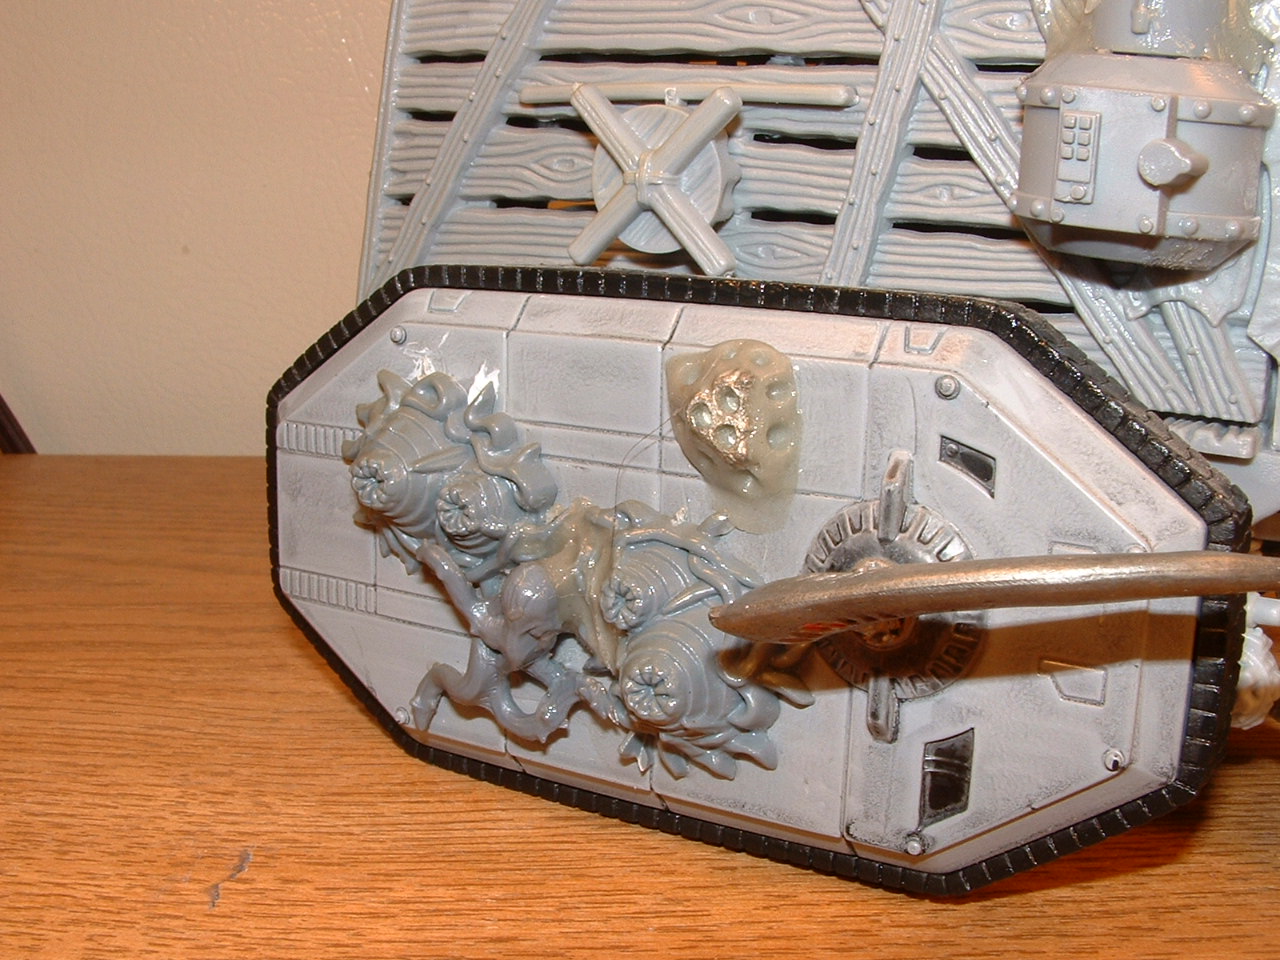
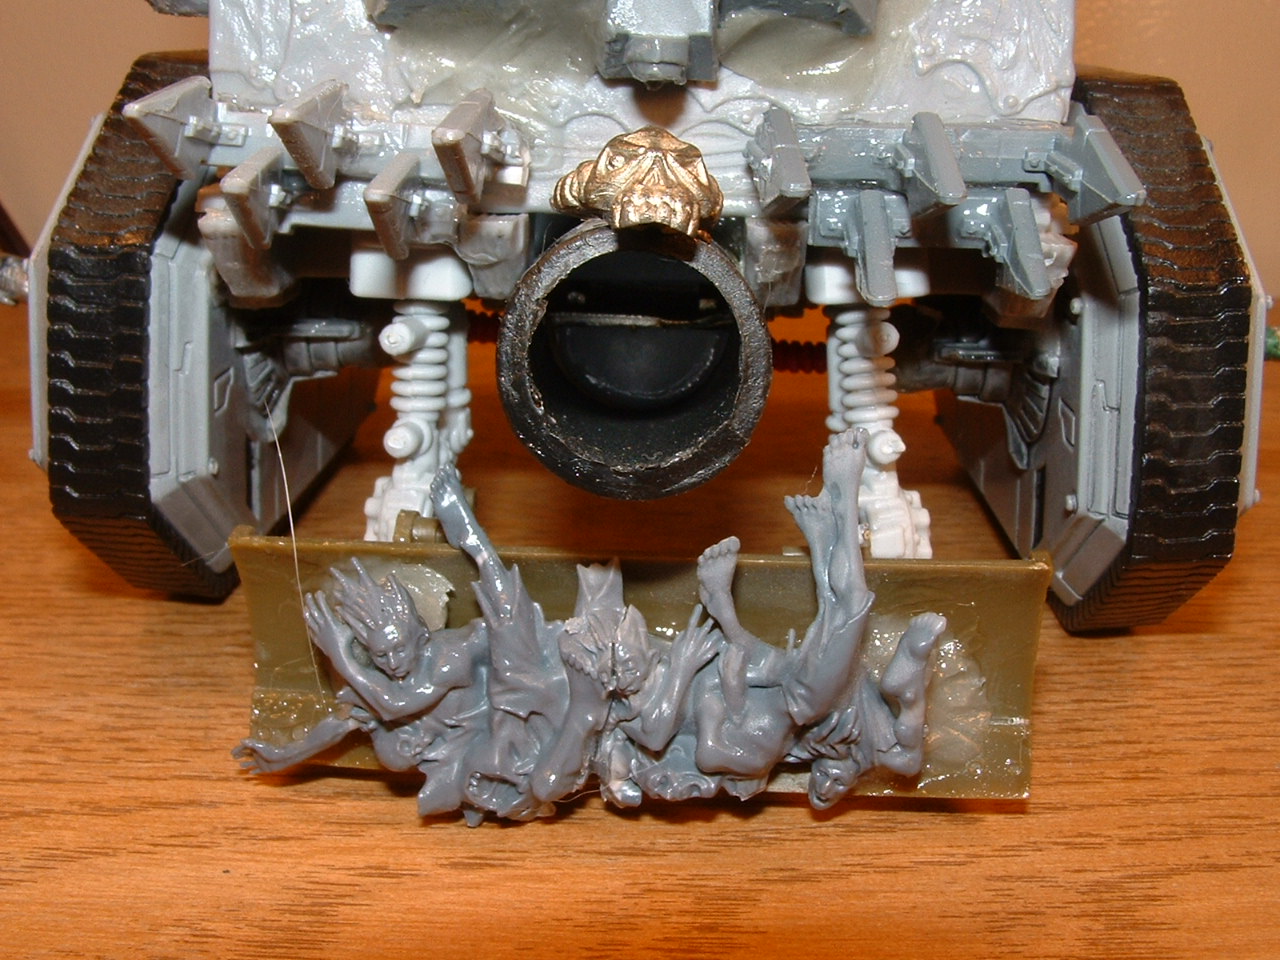
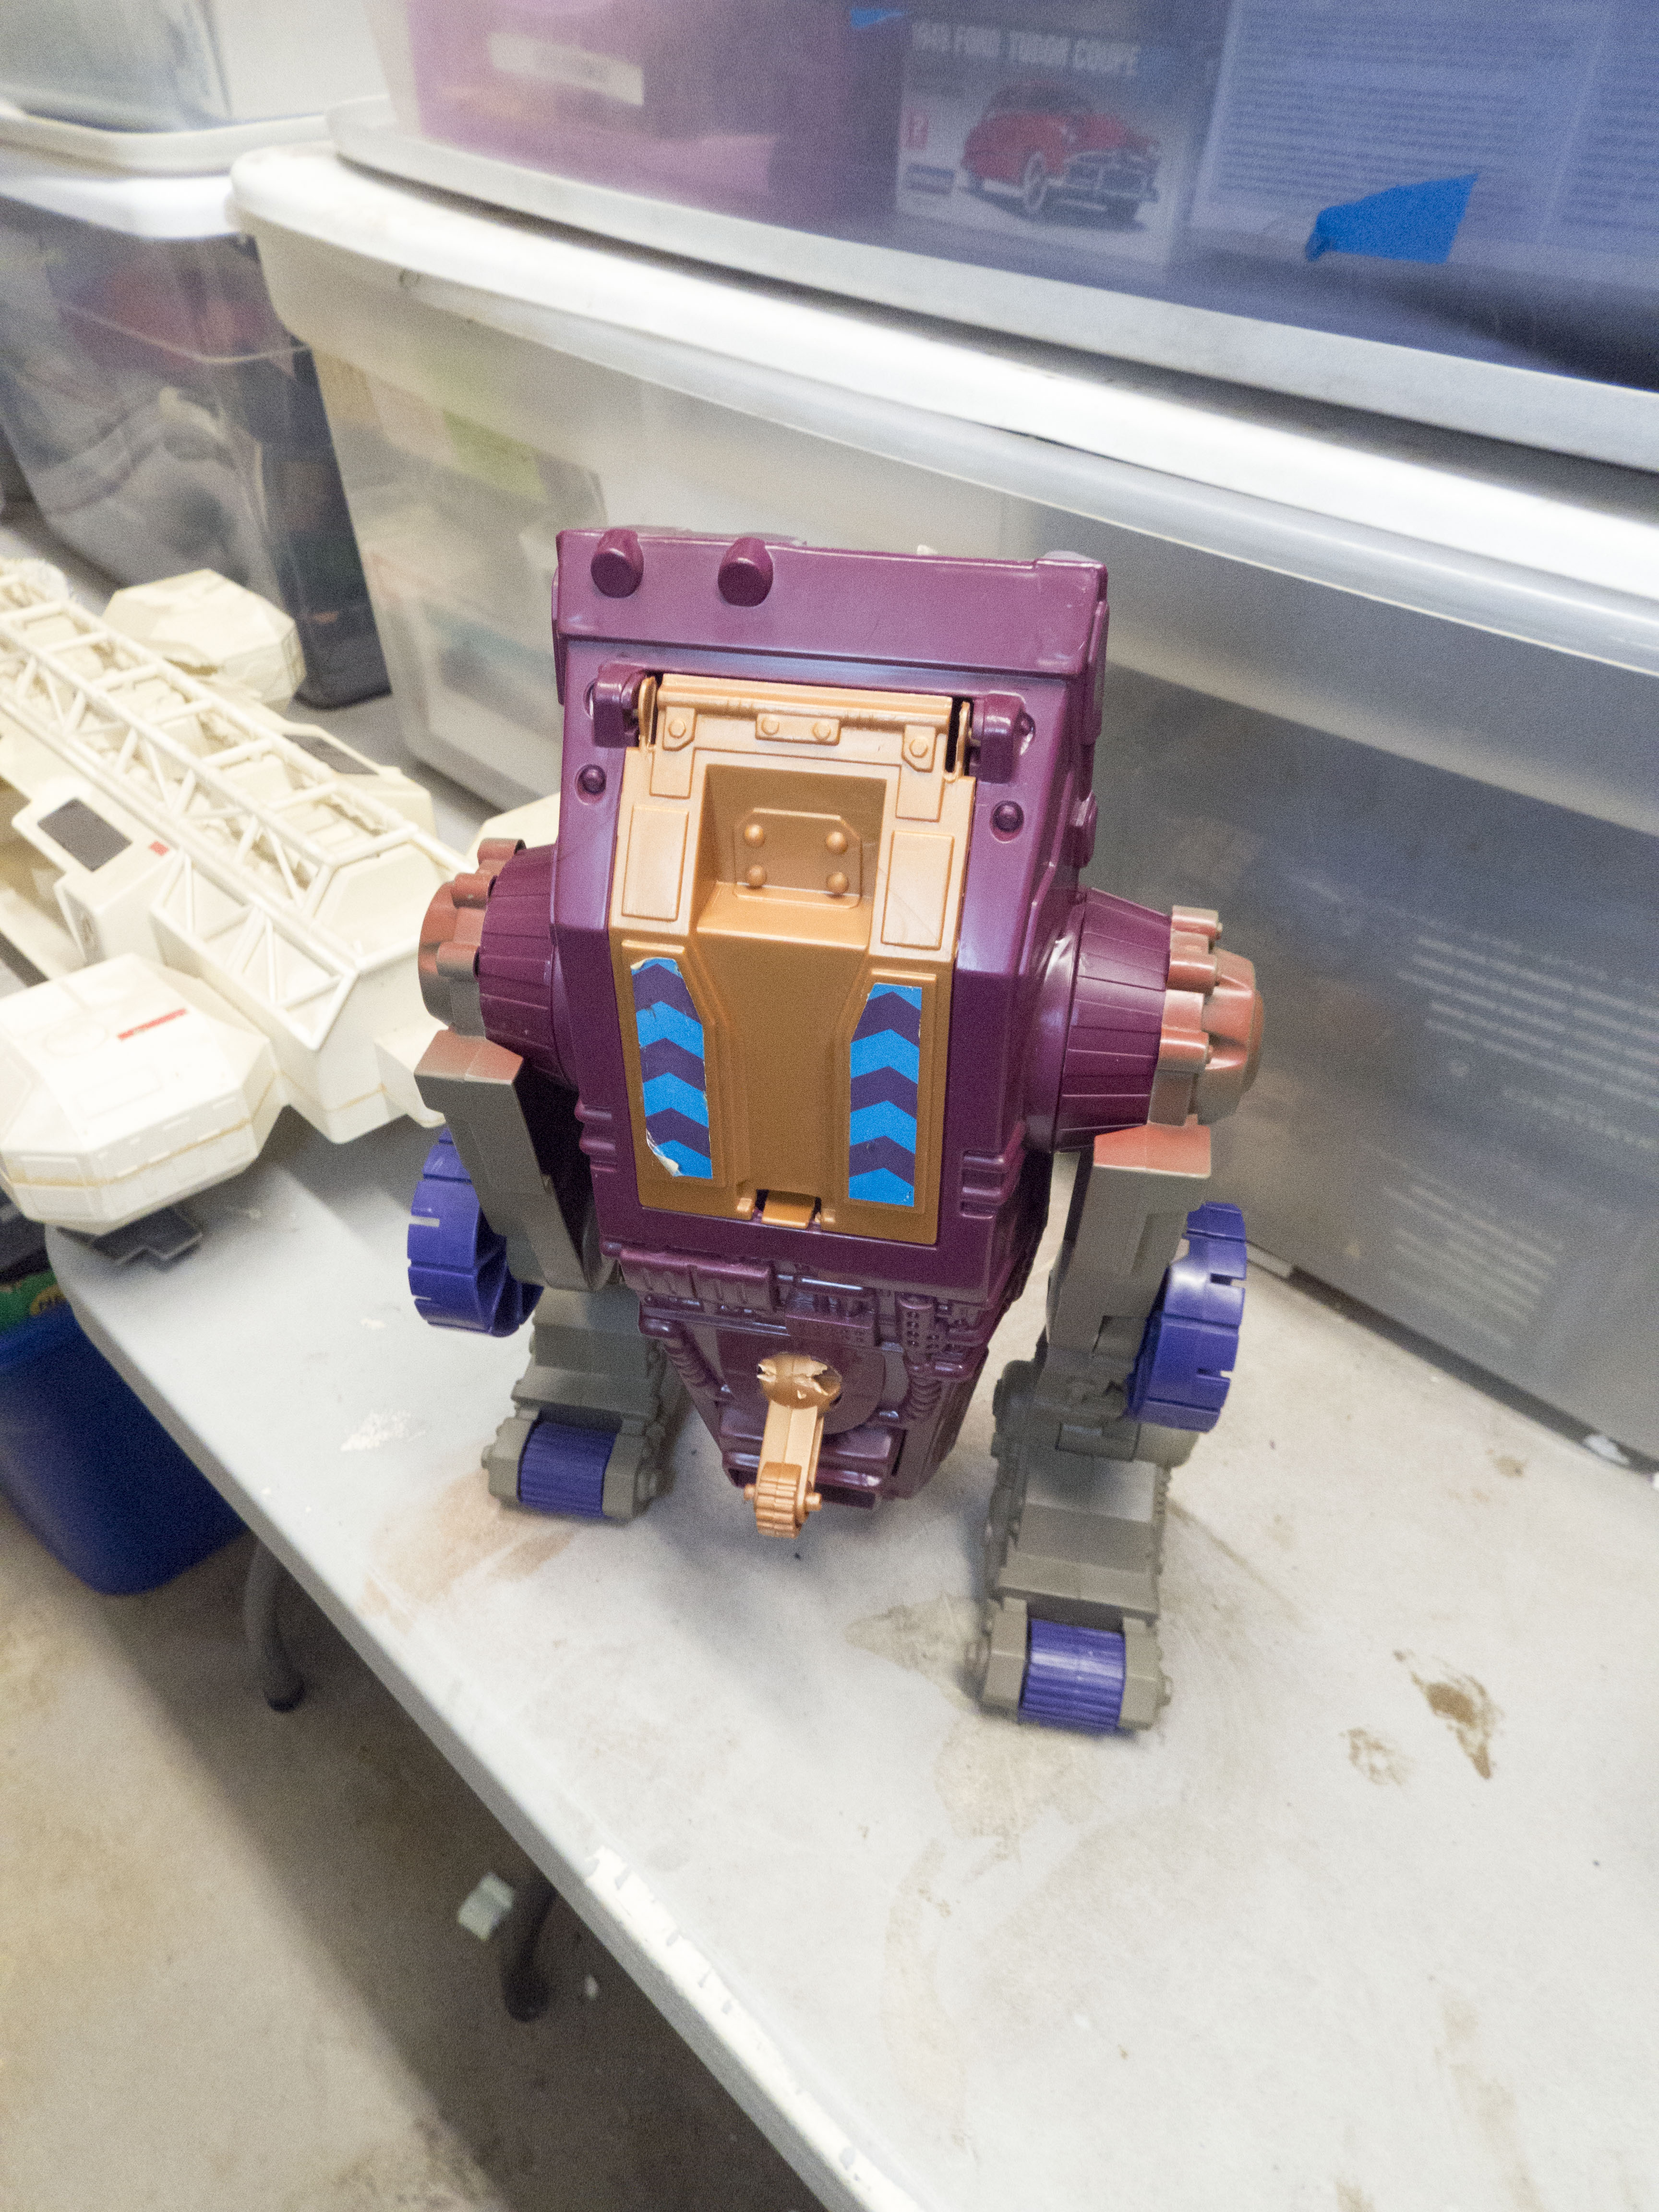
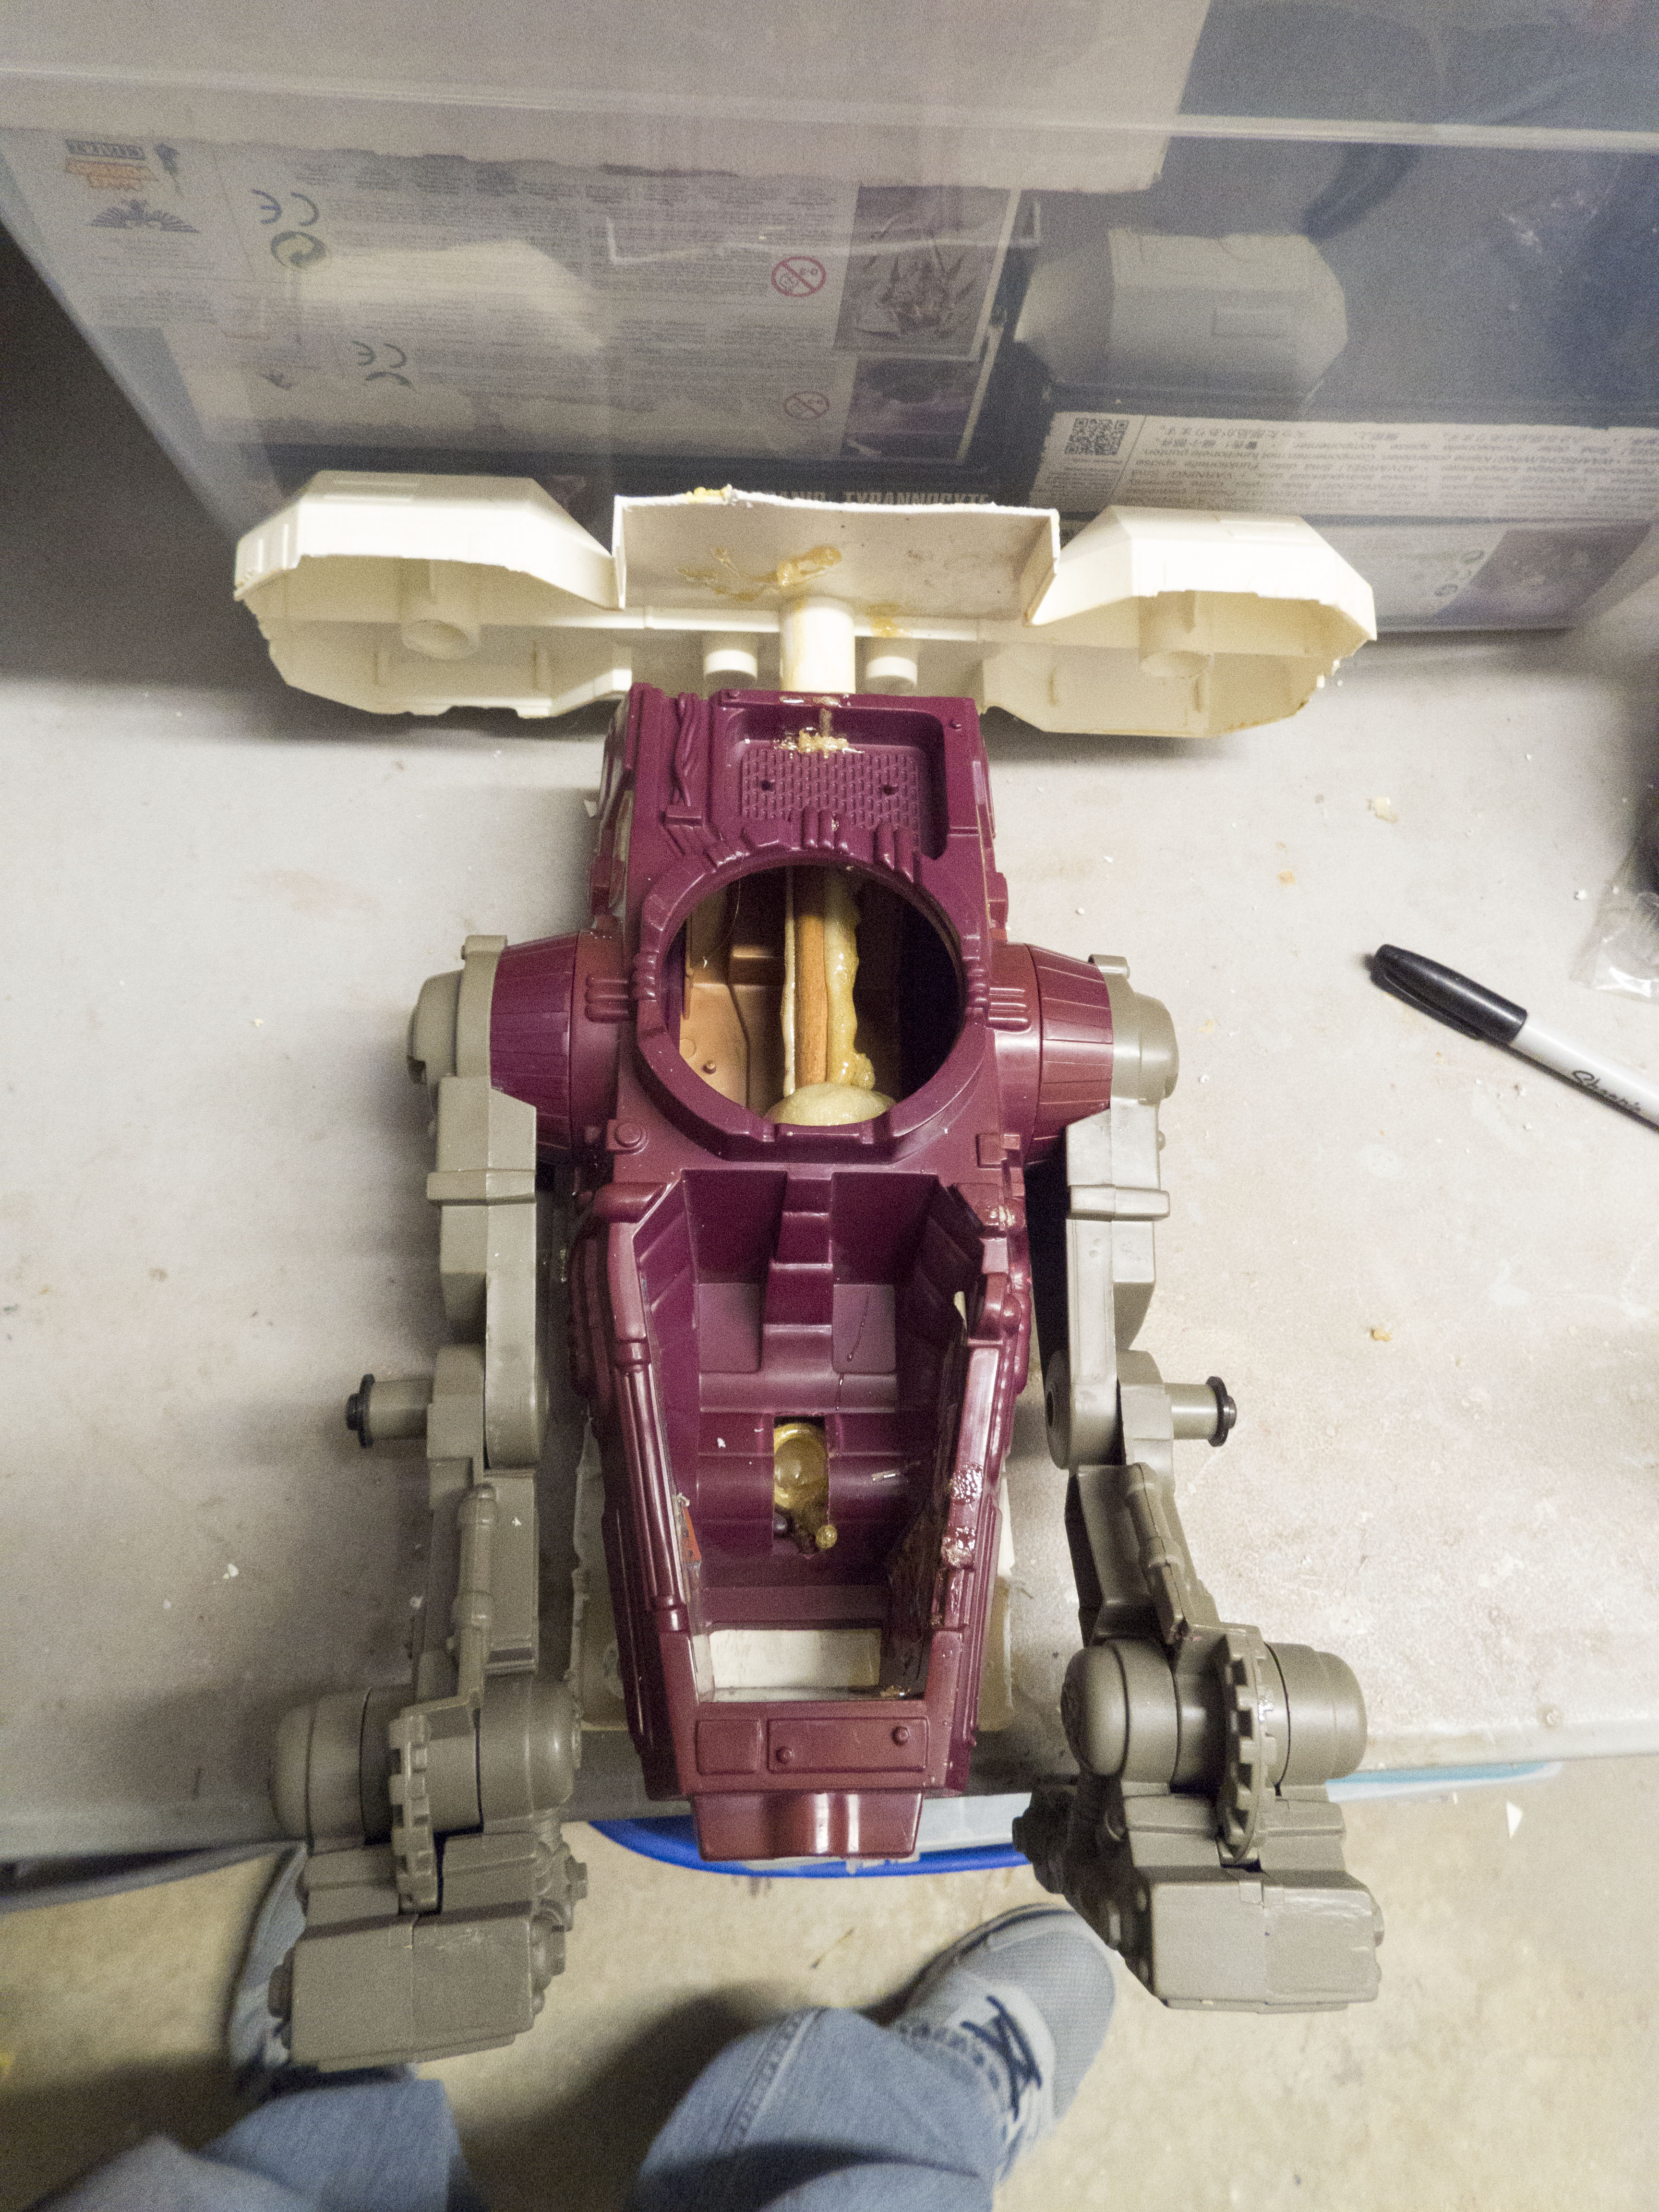
I start with a few toys from my toy bin. I pick these up in yardsales, at Goodwill, or in junk lots from time to time. In this case the Heman Terrorclaw is an old favorite of mine and is getting more expensive on Ebay all the time. The starship is . . . .well, I honestly have no idea what this is from. It’s old, I can tell you that. When I start a build I’m really looking more for shapes and structure than specifics. I look at this thing and I see shoulders and I think, “If I can mount that to the legs, I’m half way there!” So I grab a sawzaw and rip it apart. This was insansely dangerous and not to be done alone . . . like I did, like an idiot. I’m thinking I need a head for this bad boy, so thinking back to an Ork Tater Titan project I saw online a few years earlier I but down a Mr. Potato head and my plan early on is to use this as a head. I remove the legs from the Terrorclaw by loosening a few screws and then flipping the around backwards. I to this to try an dget more of an upright ‘humanoid’ posture, as to make the model taller, not longer. I also remove, with some difficulty I might add, a piece around the crotchular region to make room for some new plating.

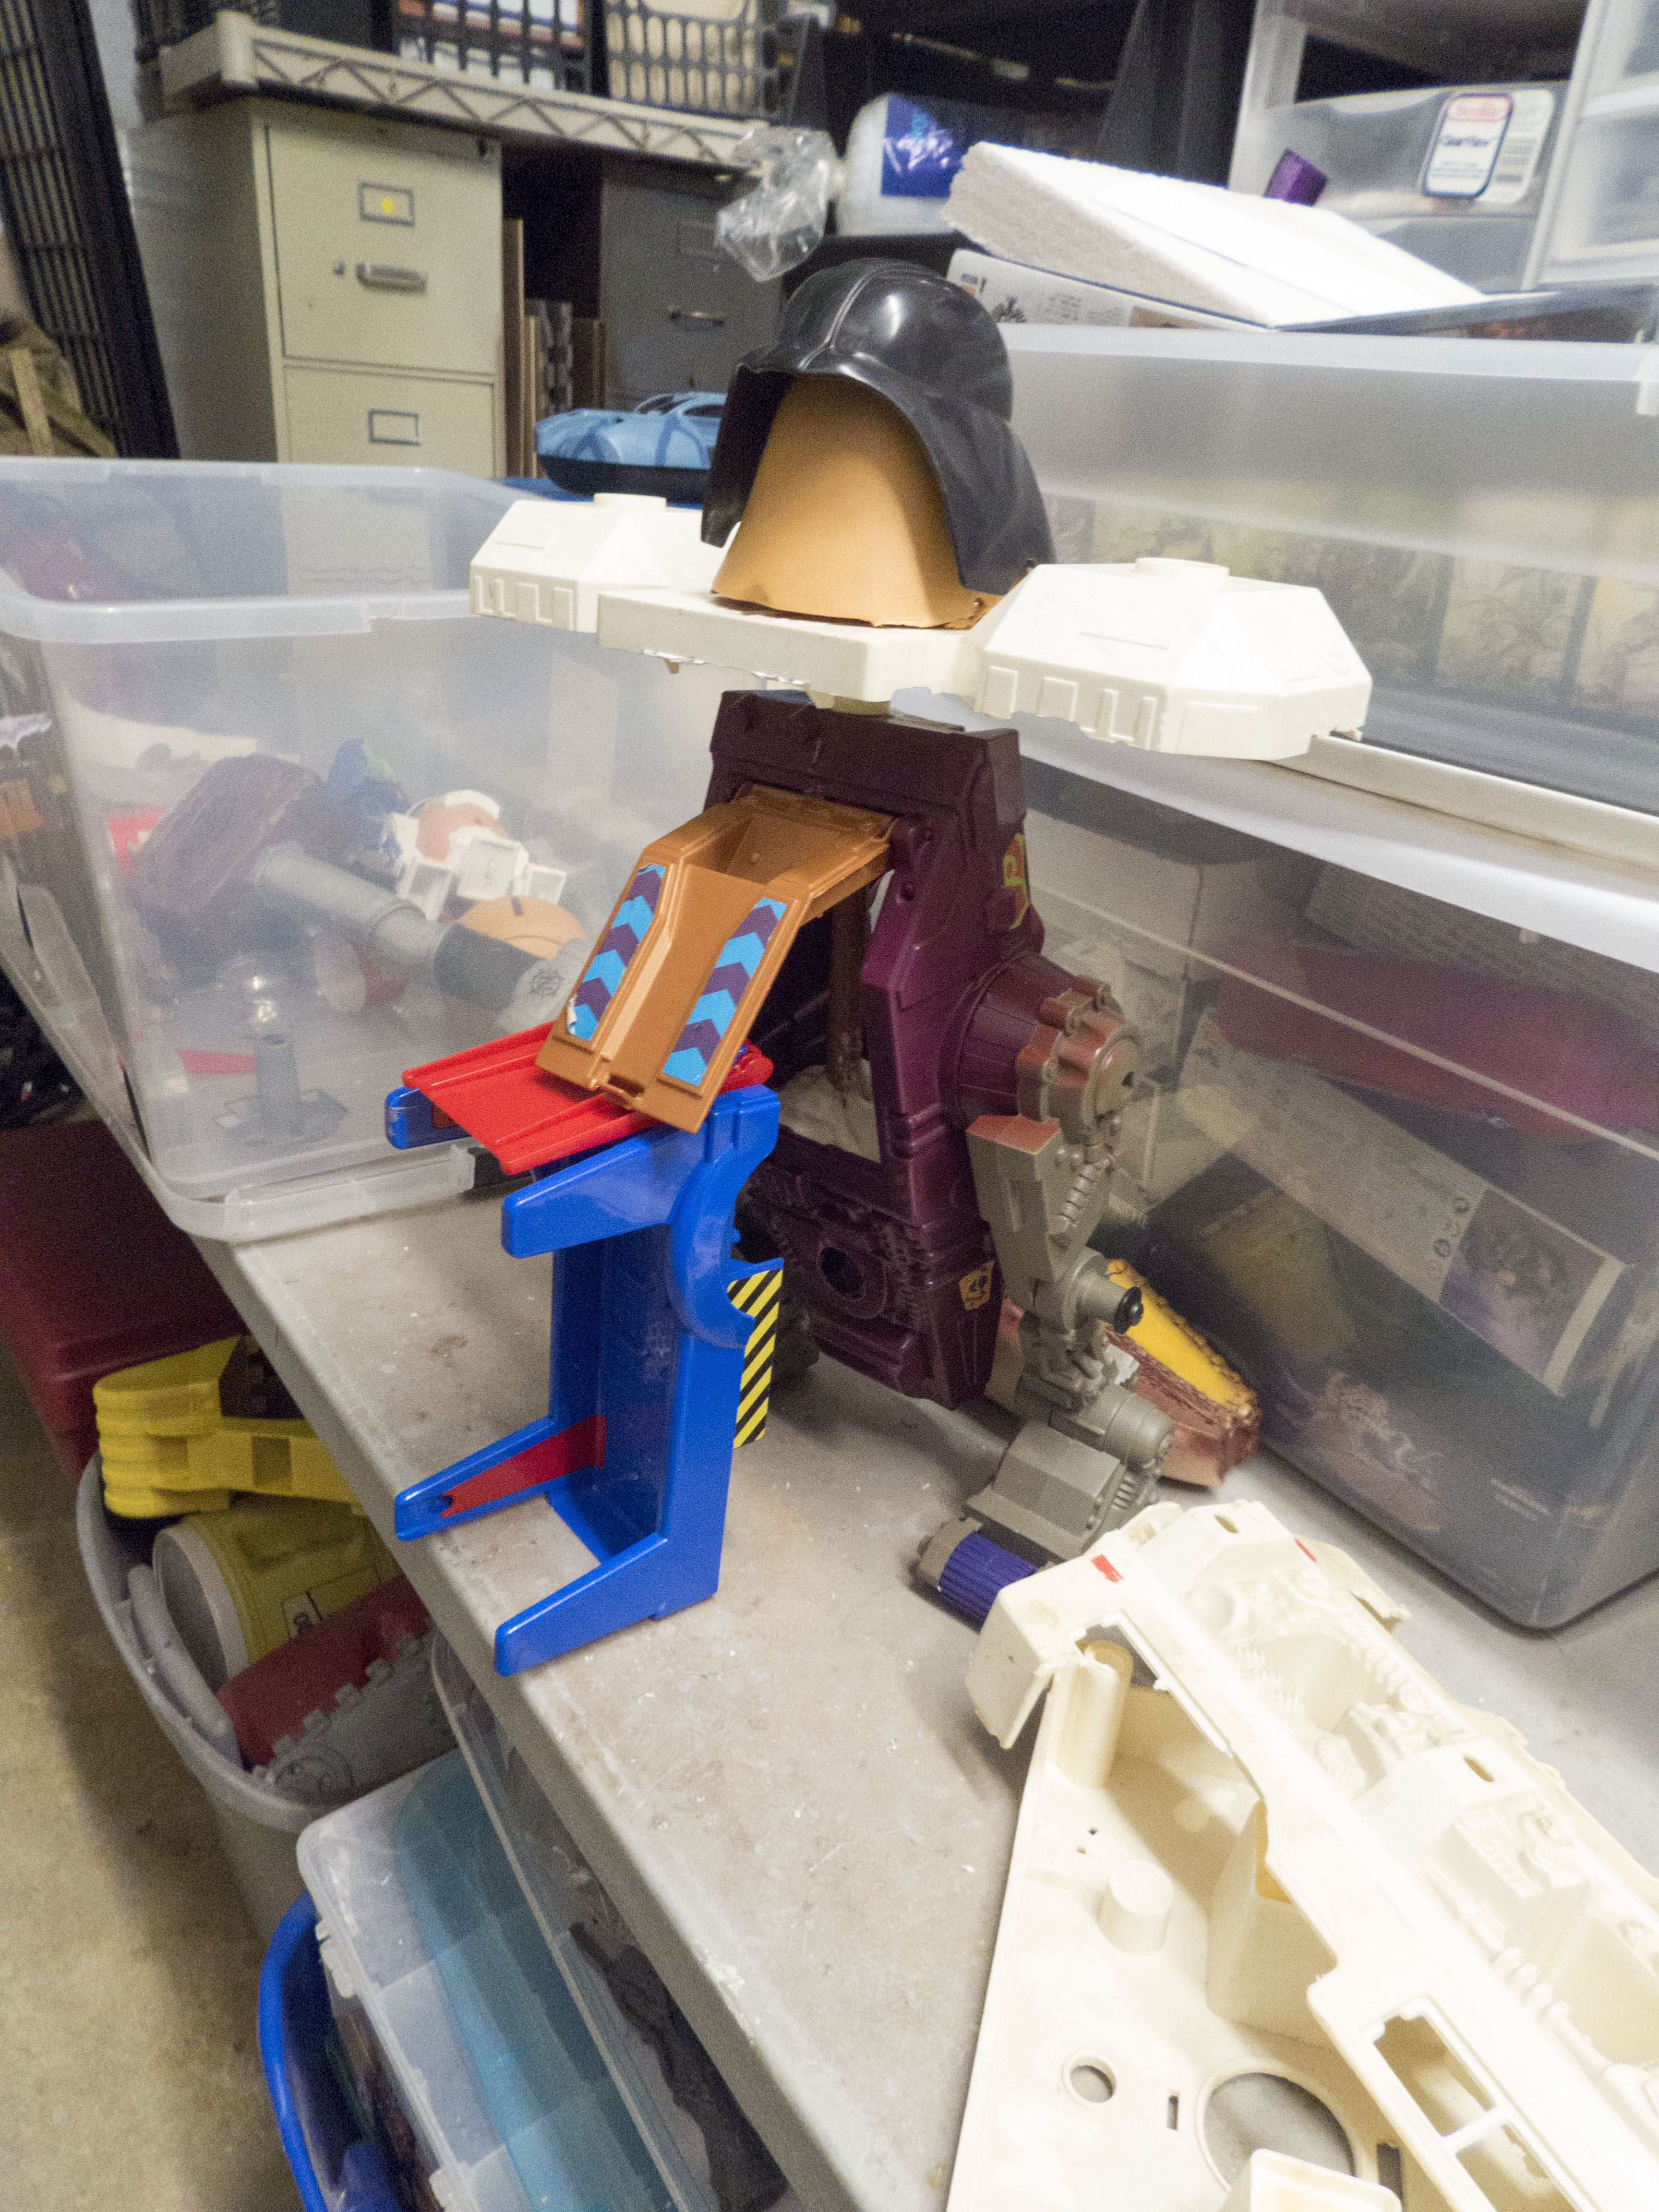
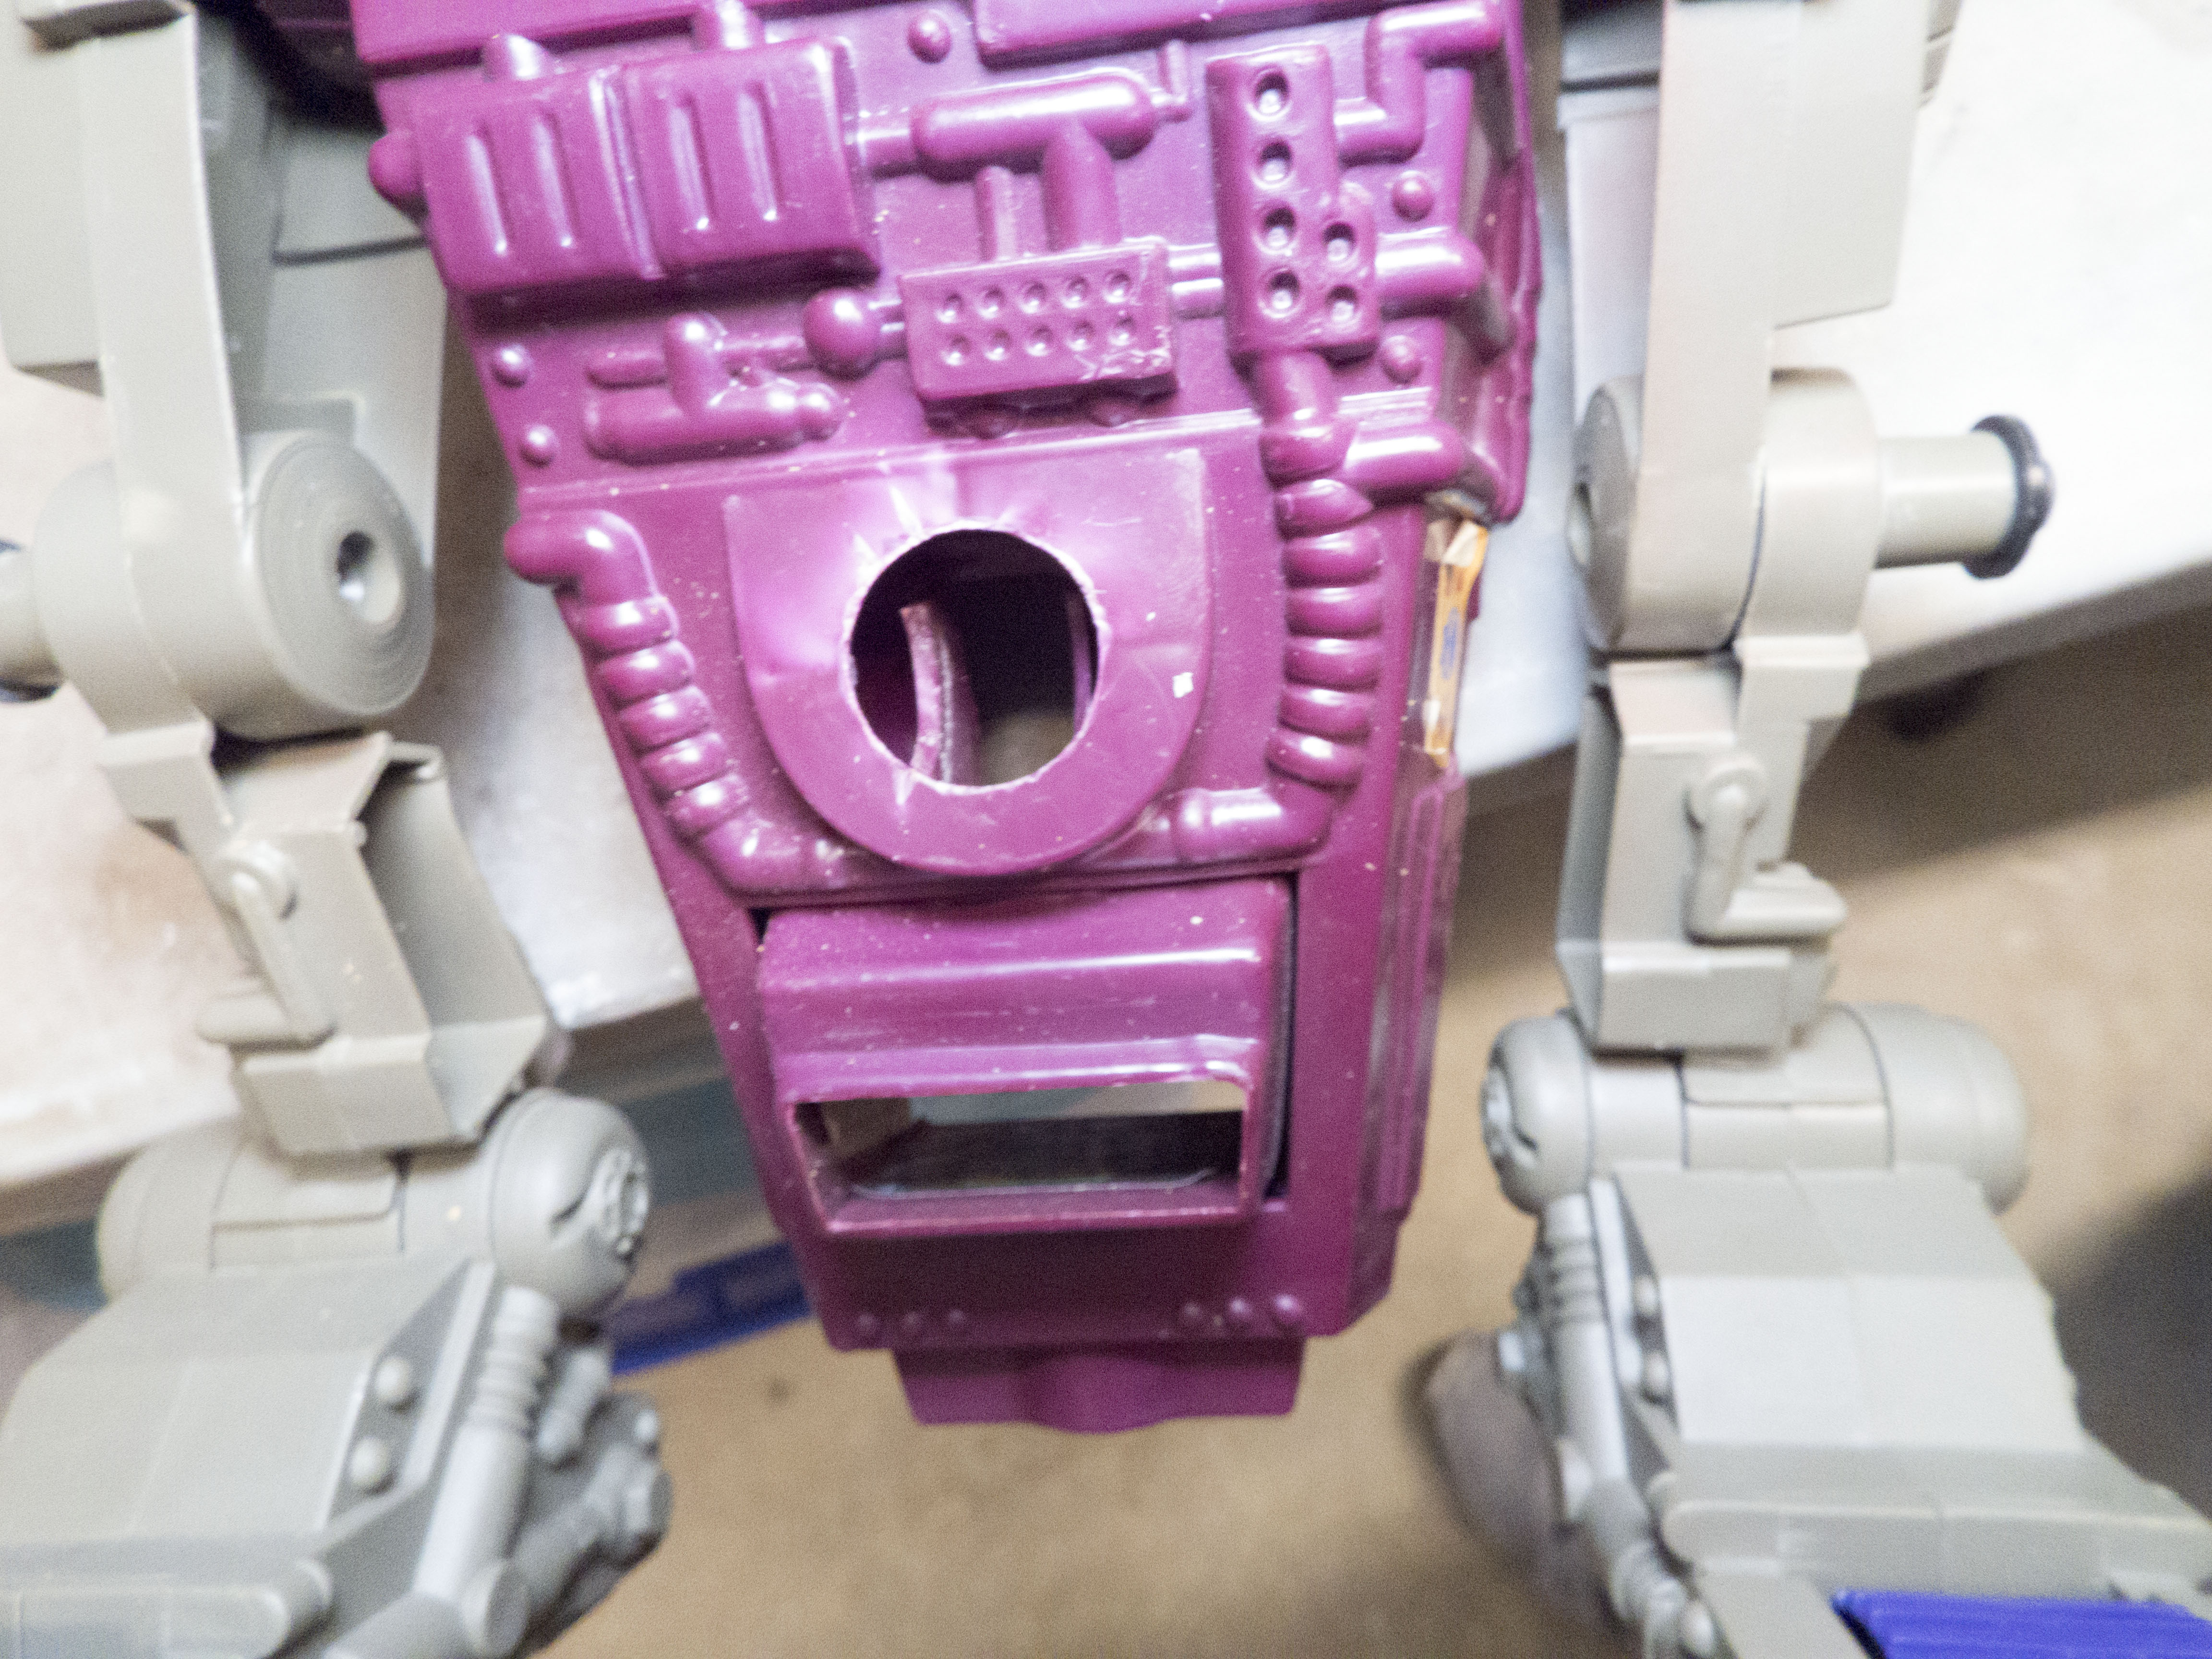
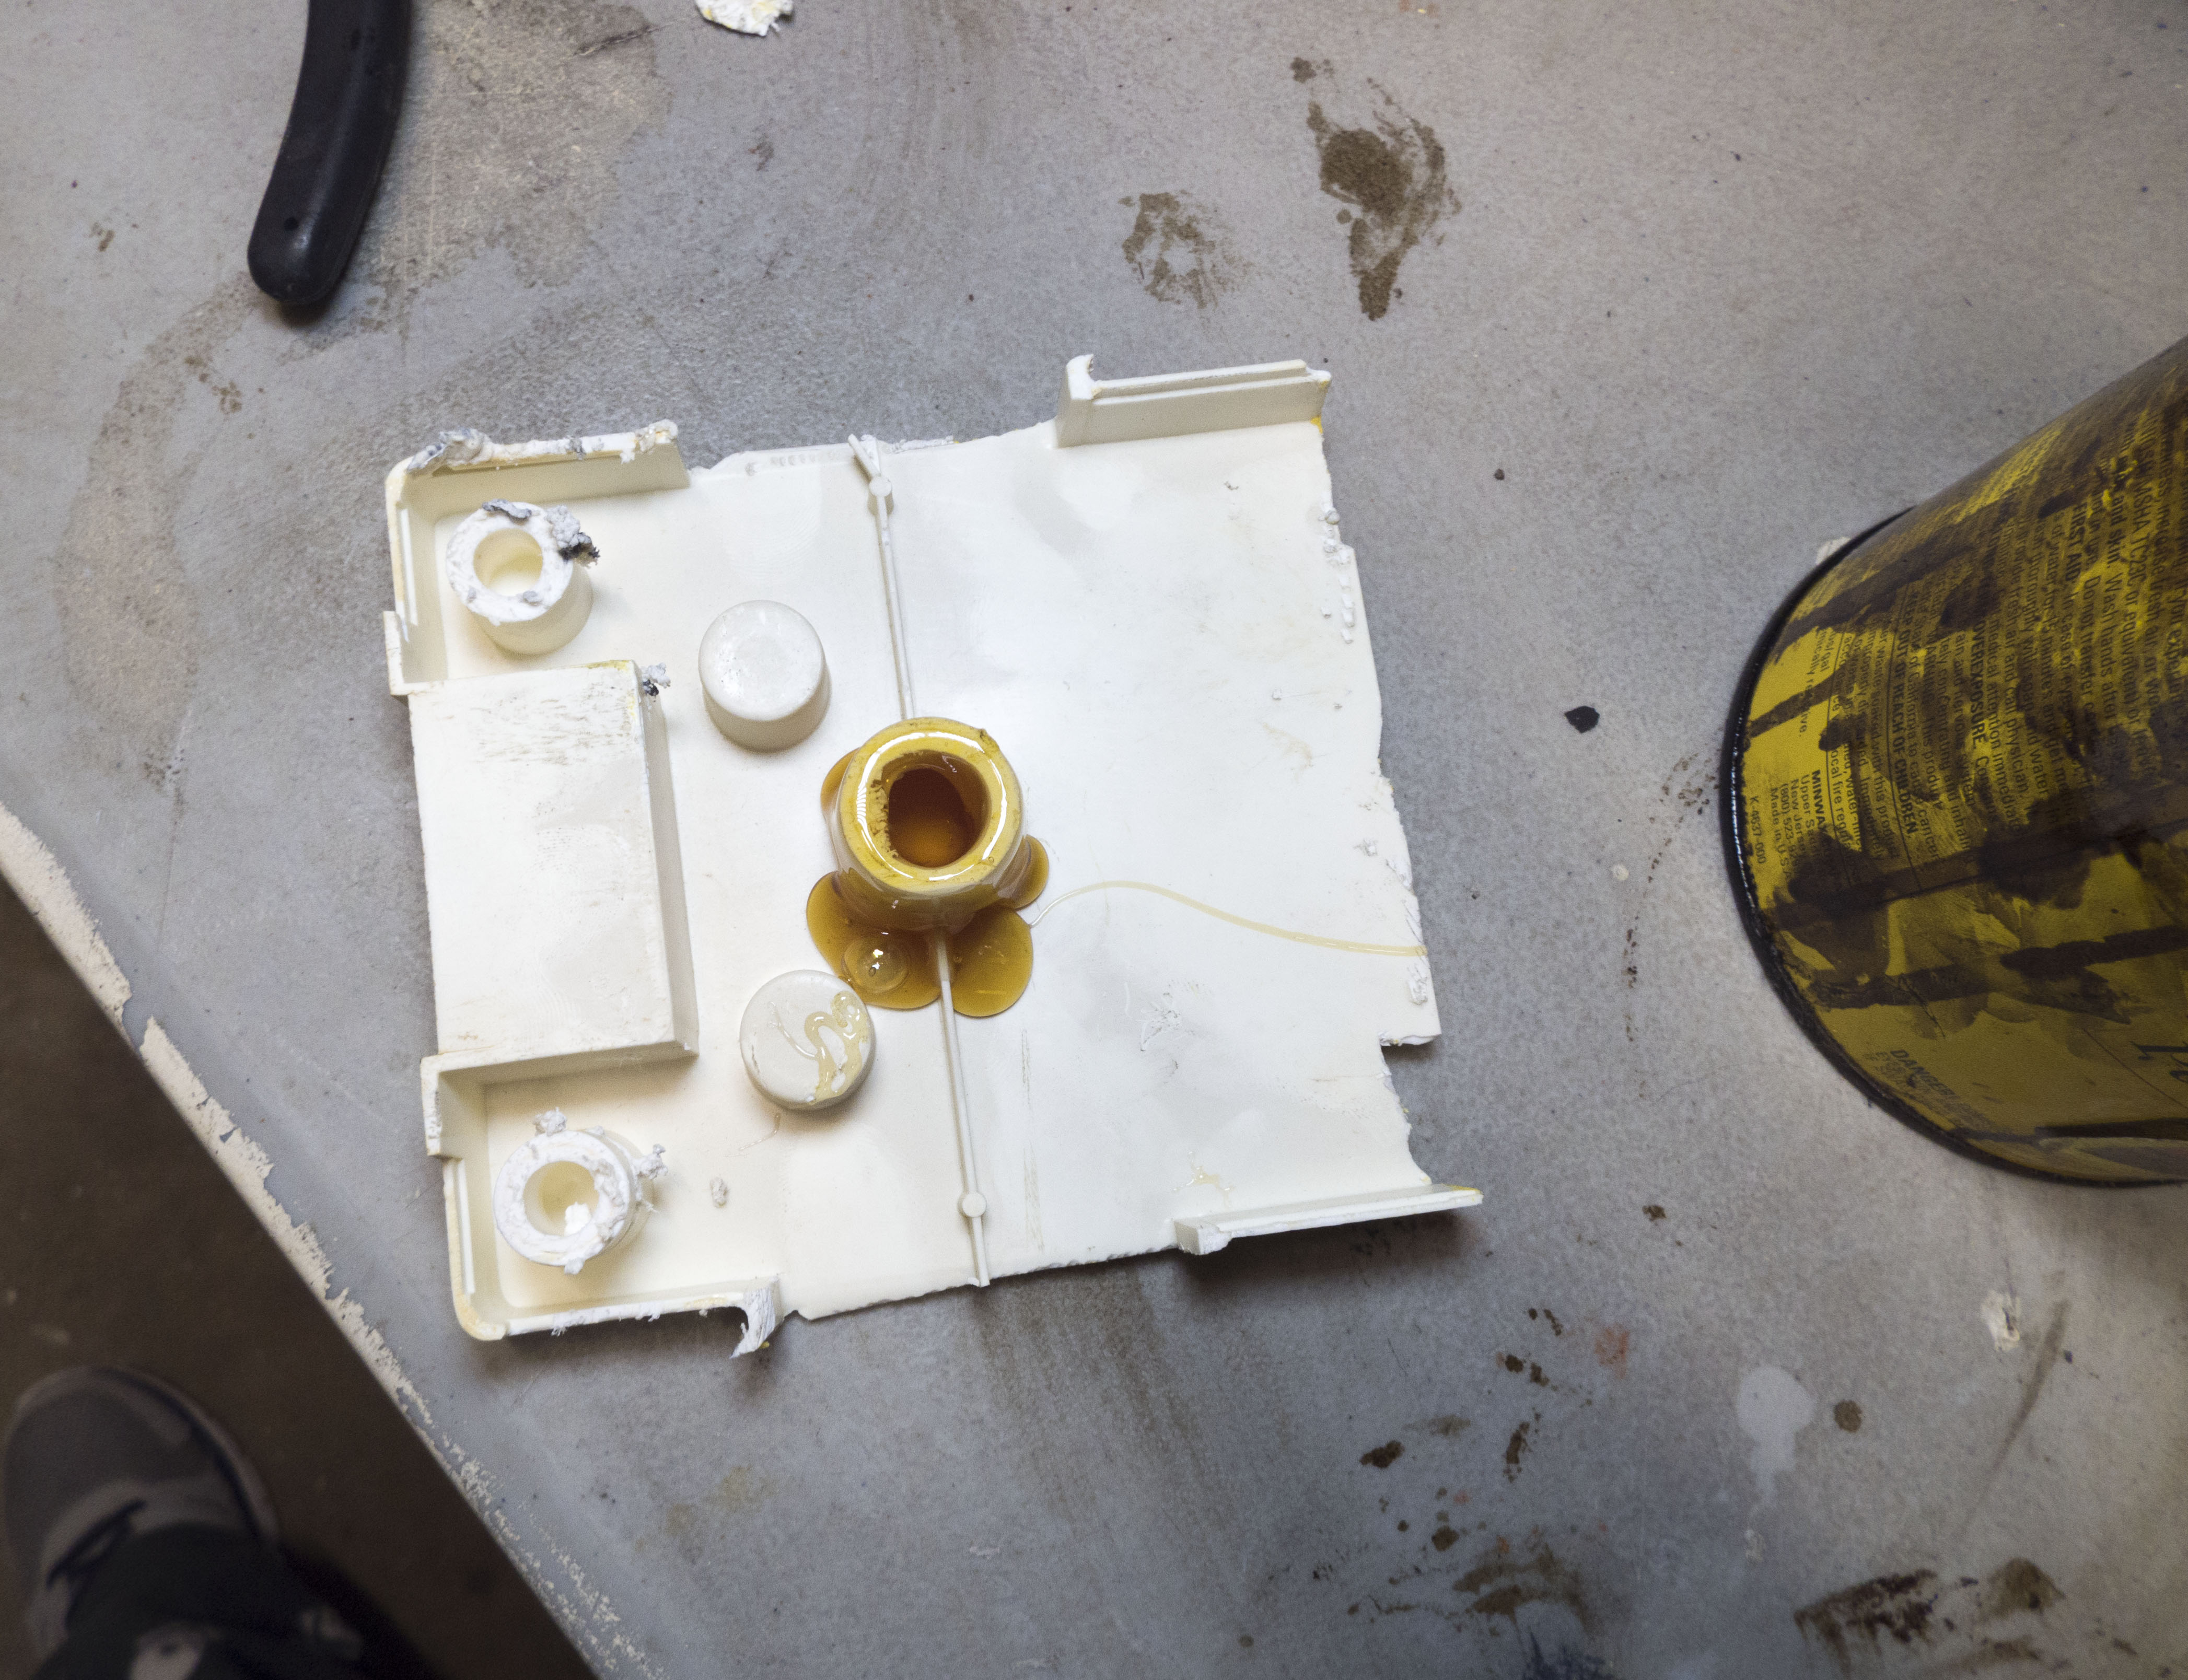
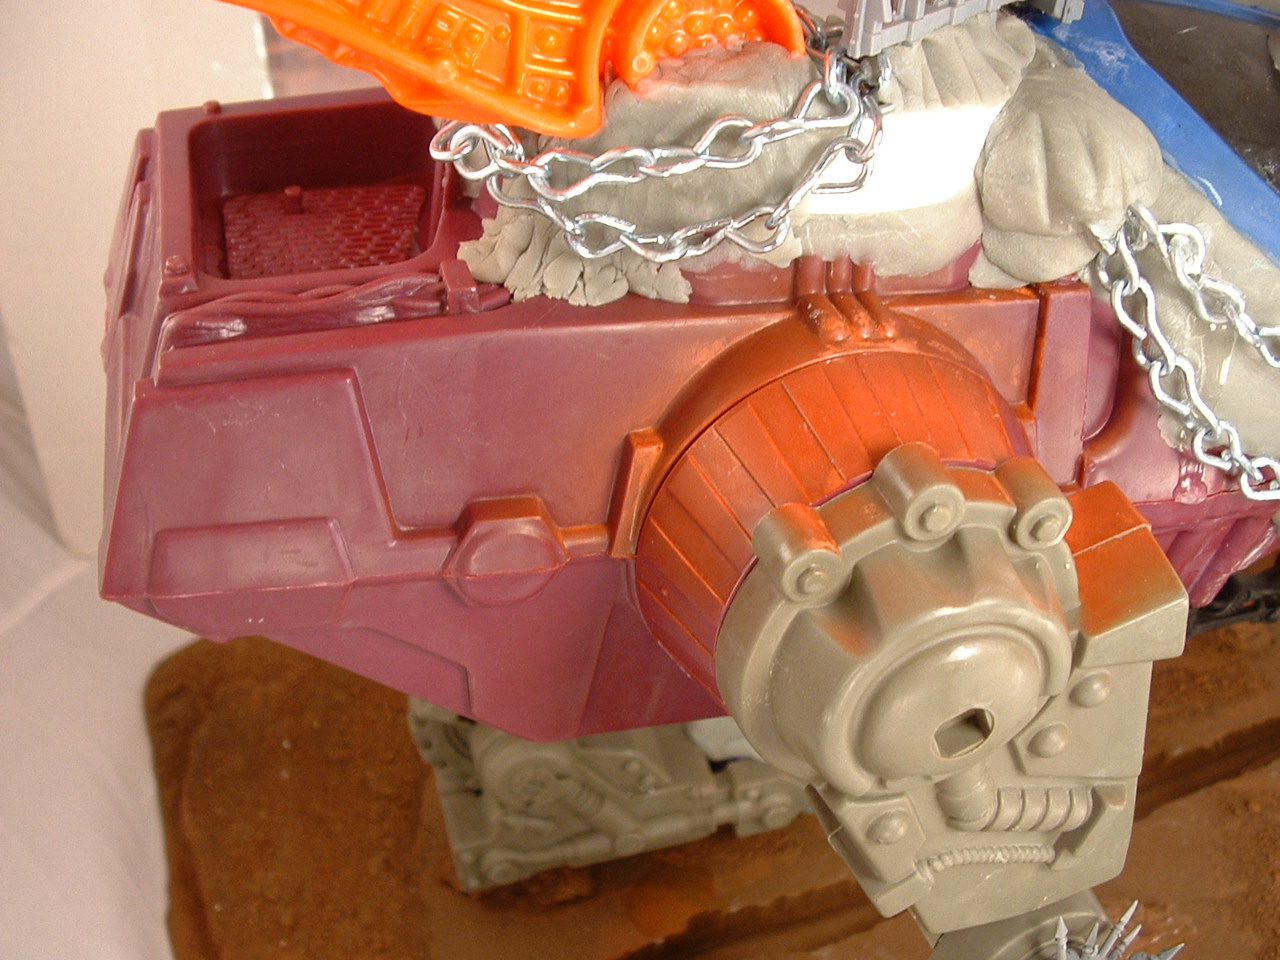
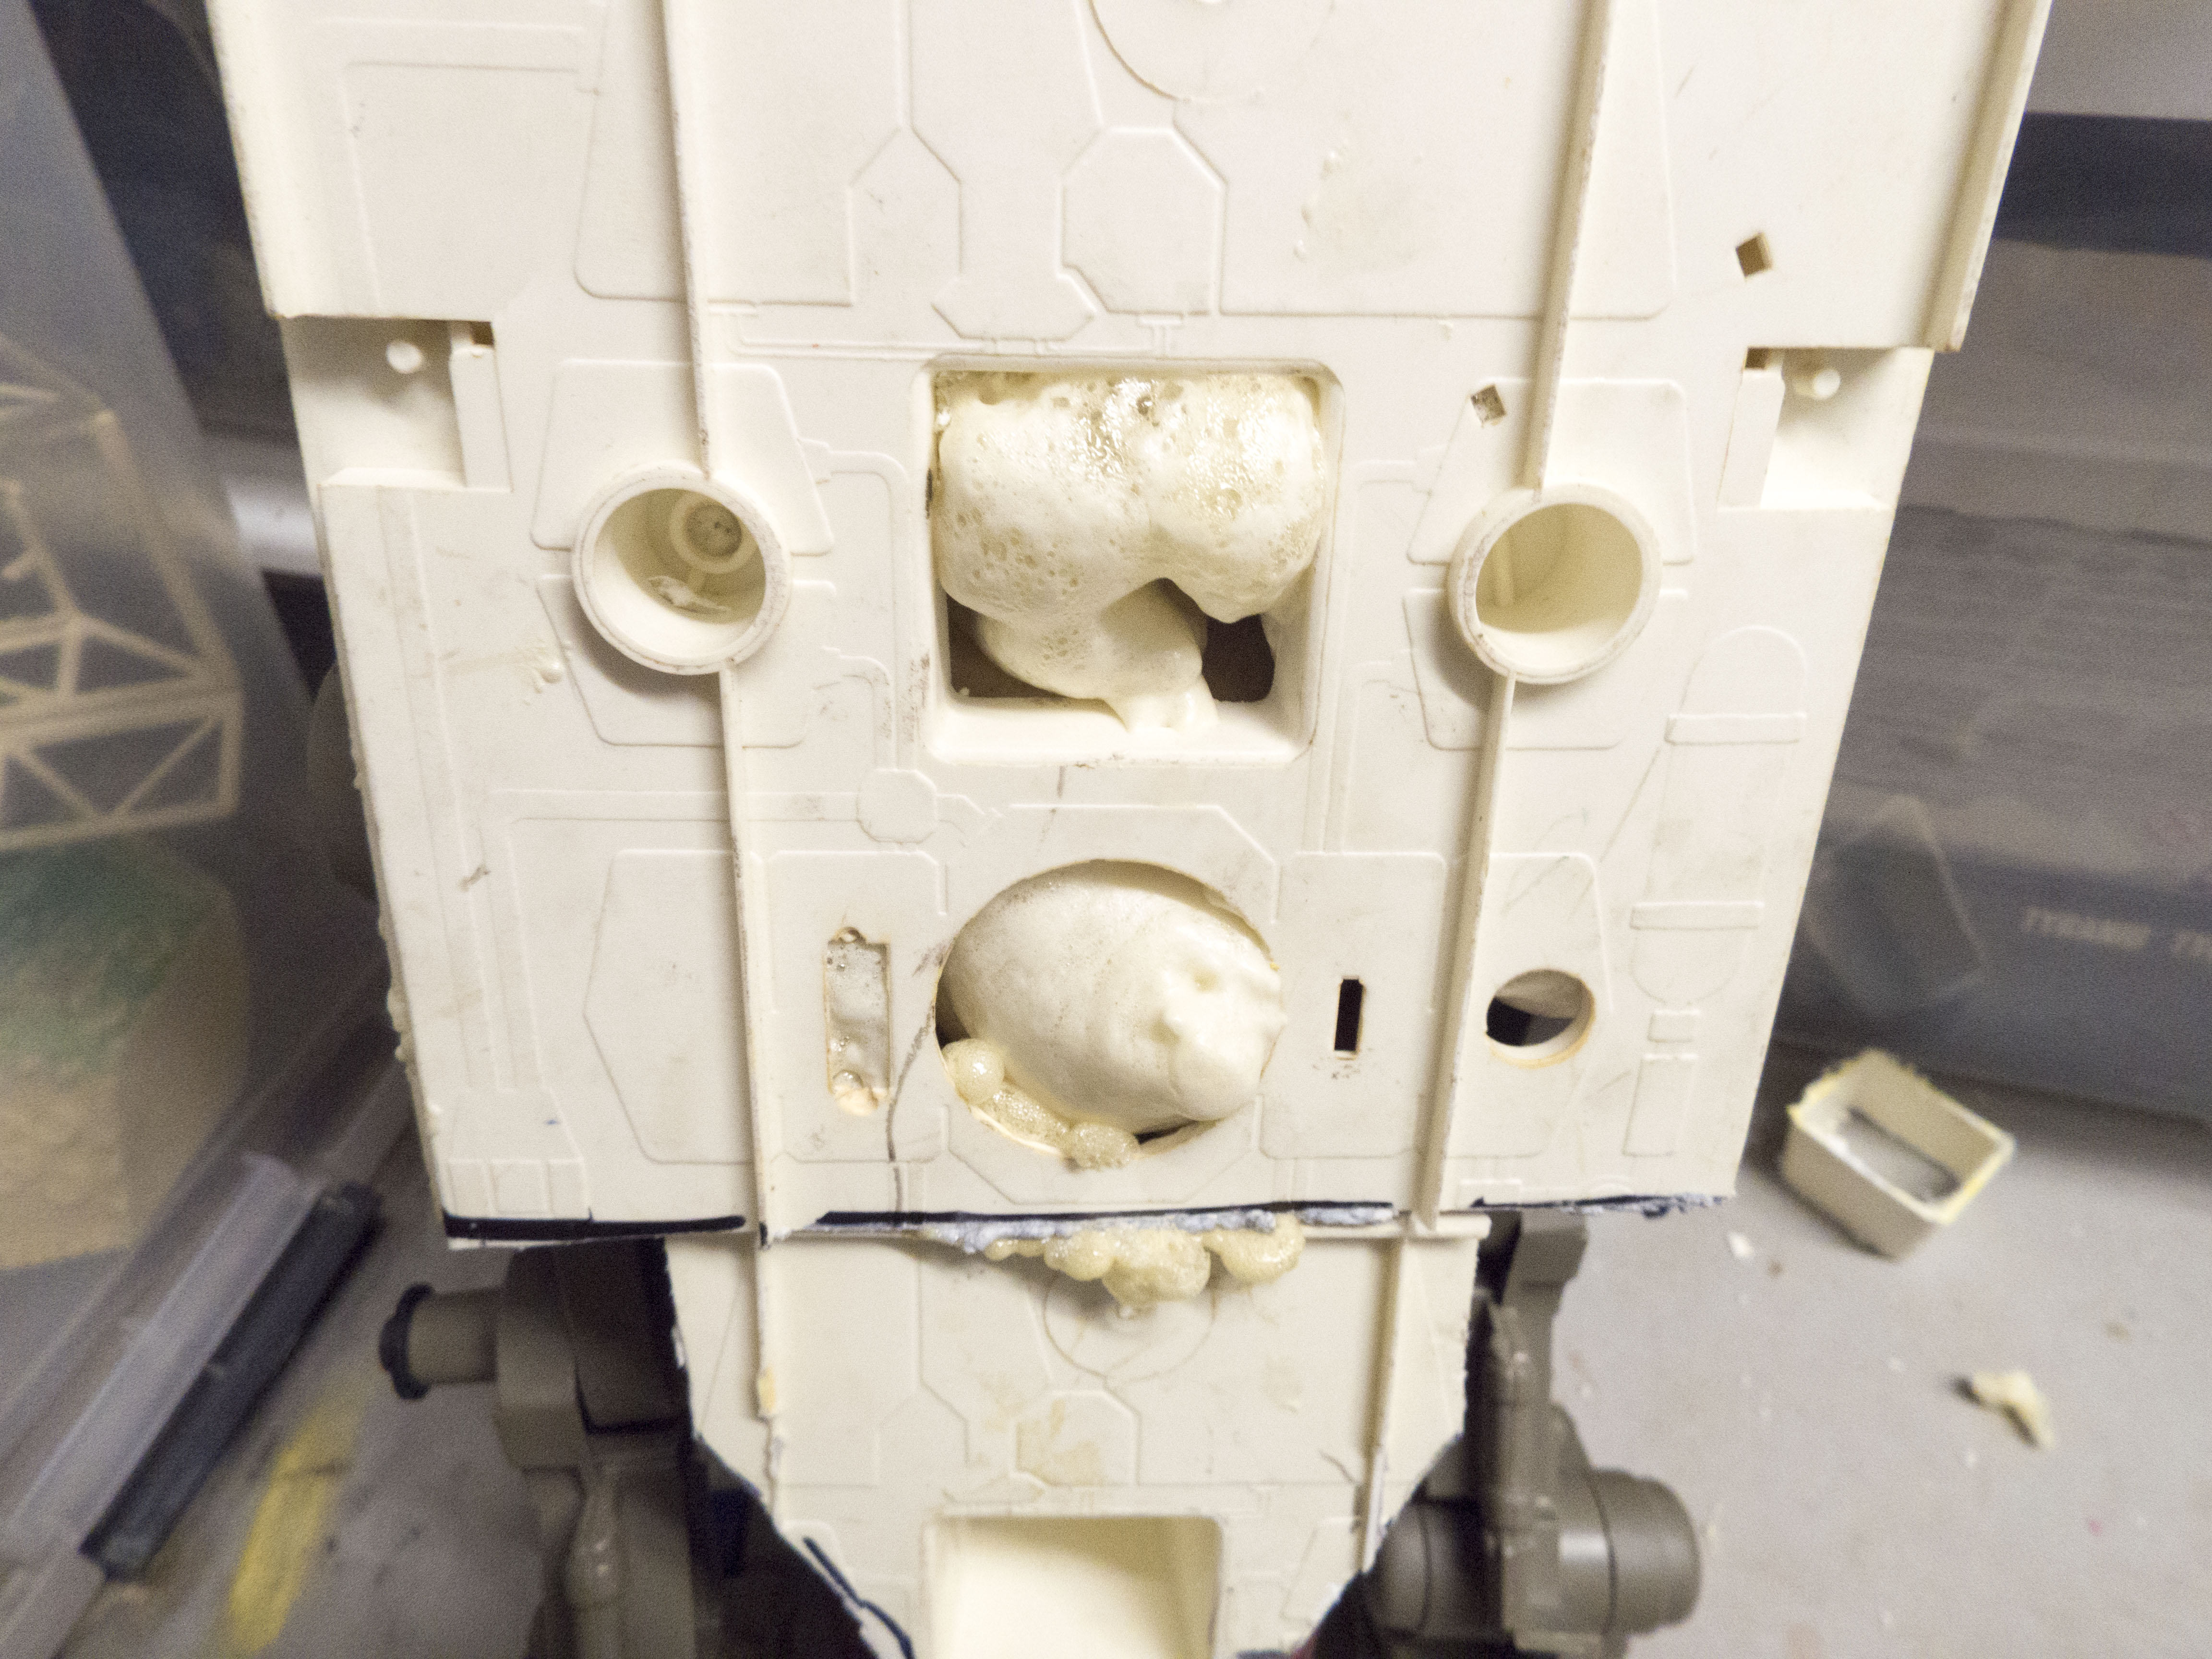
I use a generous amount of Gorilla glue on a panel of the old starship and mount it to the front of the model, inserting part of an old support column through I guess what would be considered the penile hole on the front of the Supa Stompa. Gorilla Glue is great because it expands to fill the area around it, so it will get a really snug fit. I trip up another few plates from the starship for paneling, and arrange them on what will eventually be the torso of the model. I use expanding foam to fill in the interior cavity. This will help to bind everything to together, and since there are plenty of places for the foam to expand out of, I’m not worried about the foam raising too much and making the body plating uneven. What I’m trying to achieve and nice, flat panels where I can later mount other panels to good effect. I also go ahead and mount the ‘shoulder pads’ on the uppersection of the torso using guerilla glue. It’s worth noting that each step her took a day or so, as I left each panel to dry/expand fully overnight, returning in the morning to add more and more pieces. Progress went fast, and within a week or so I had a basic structure to work from.
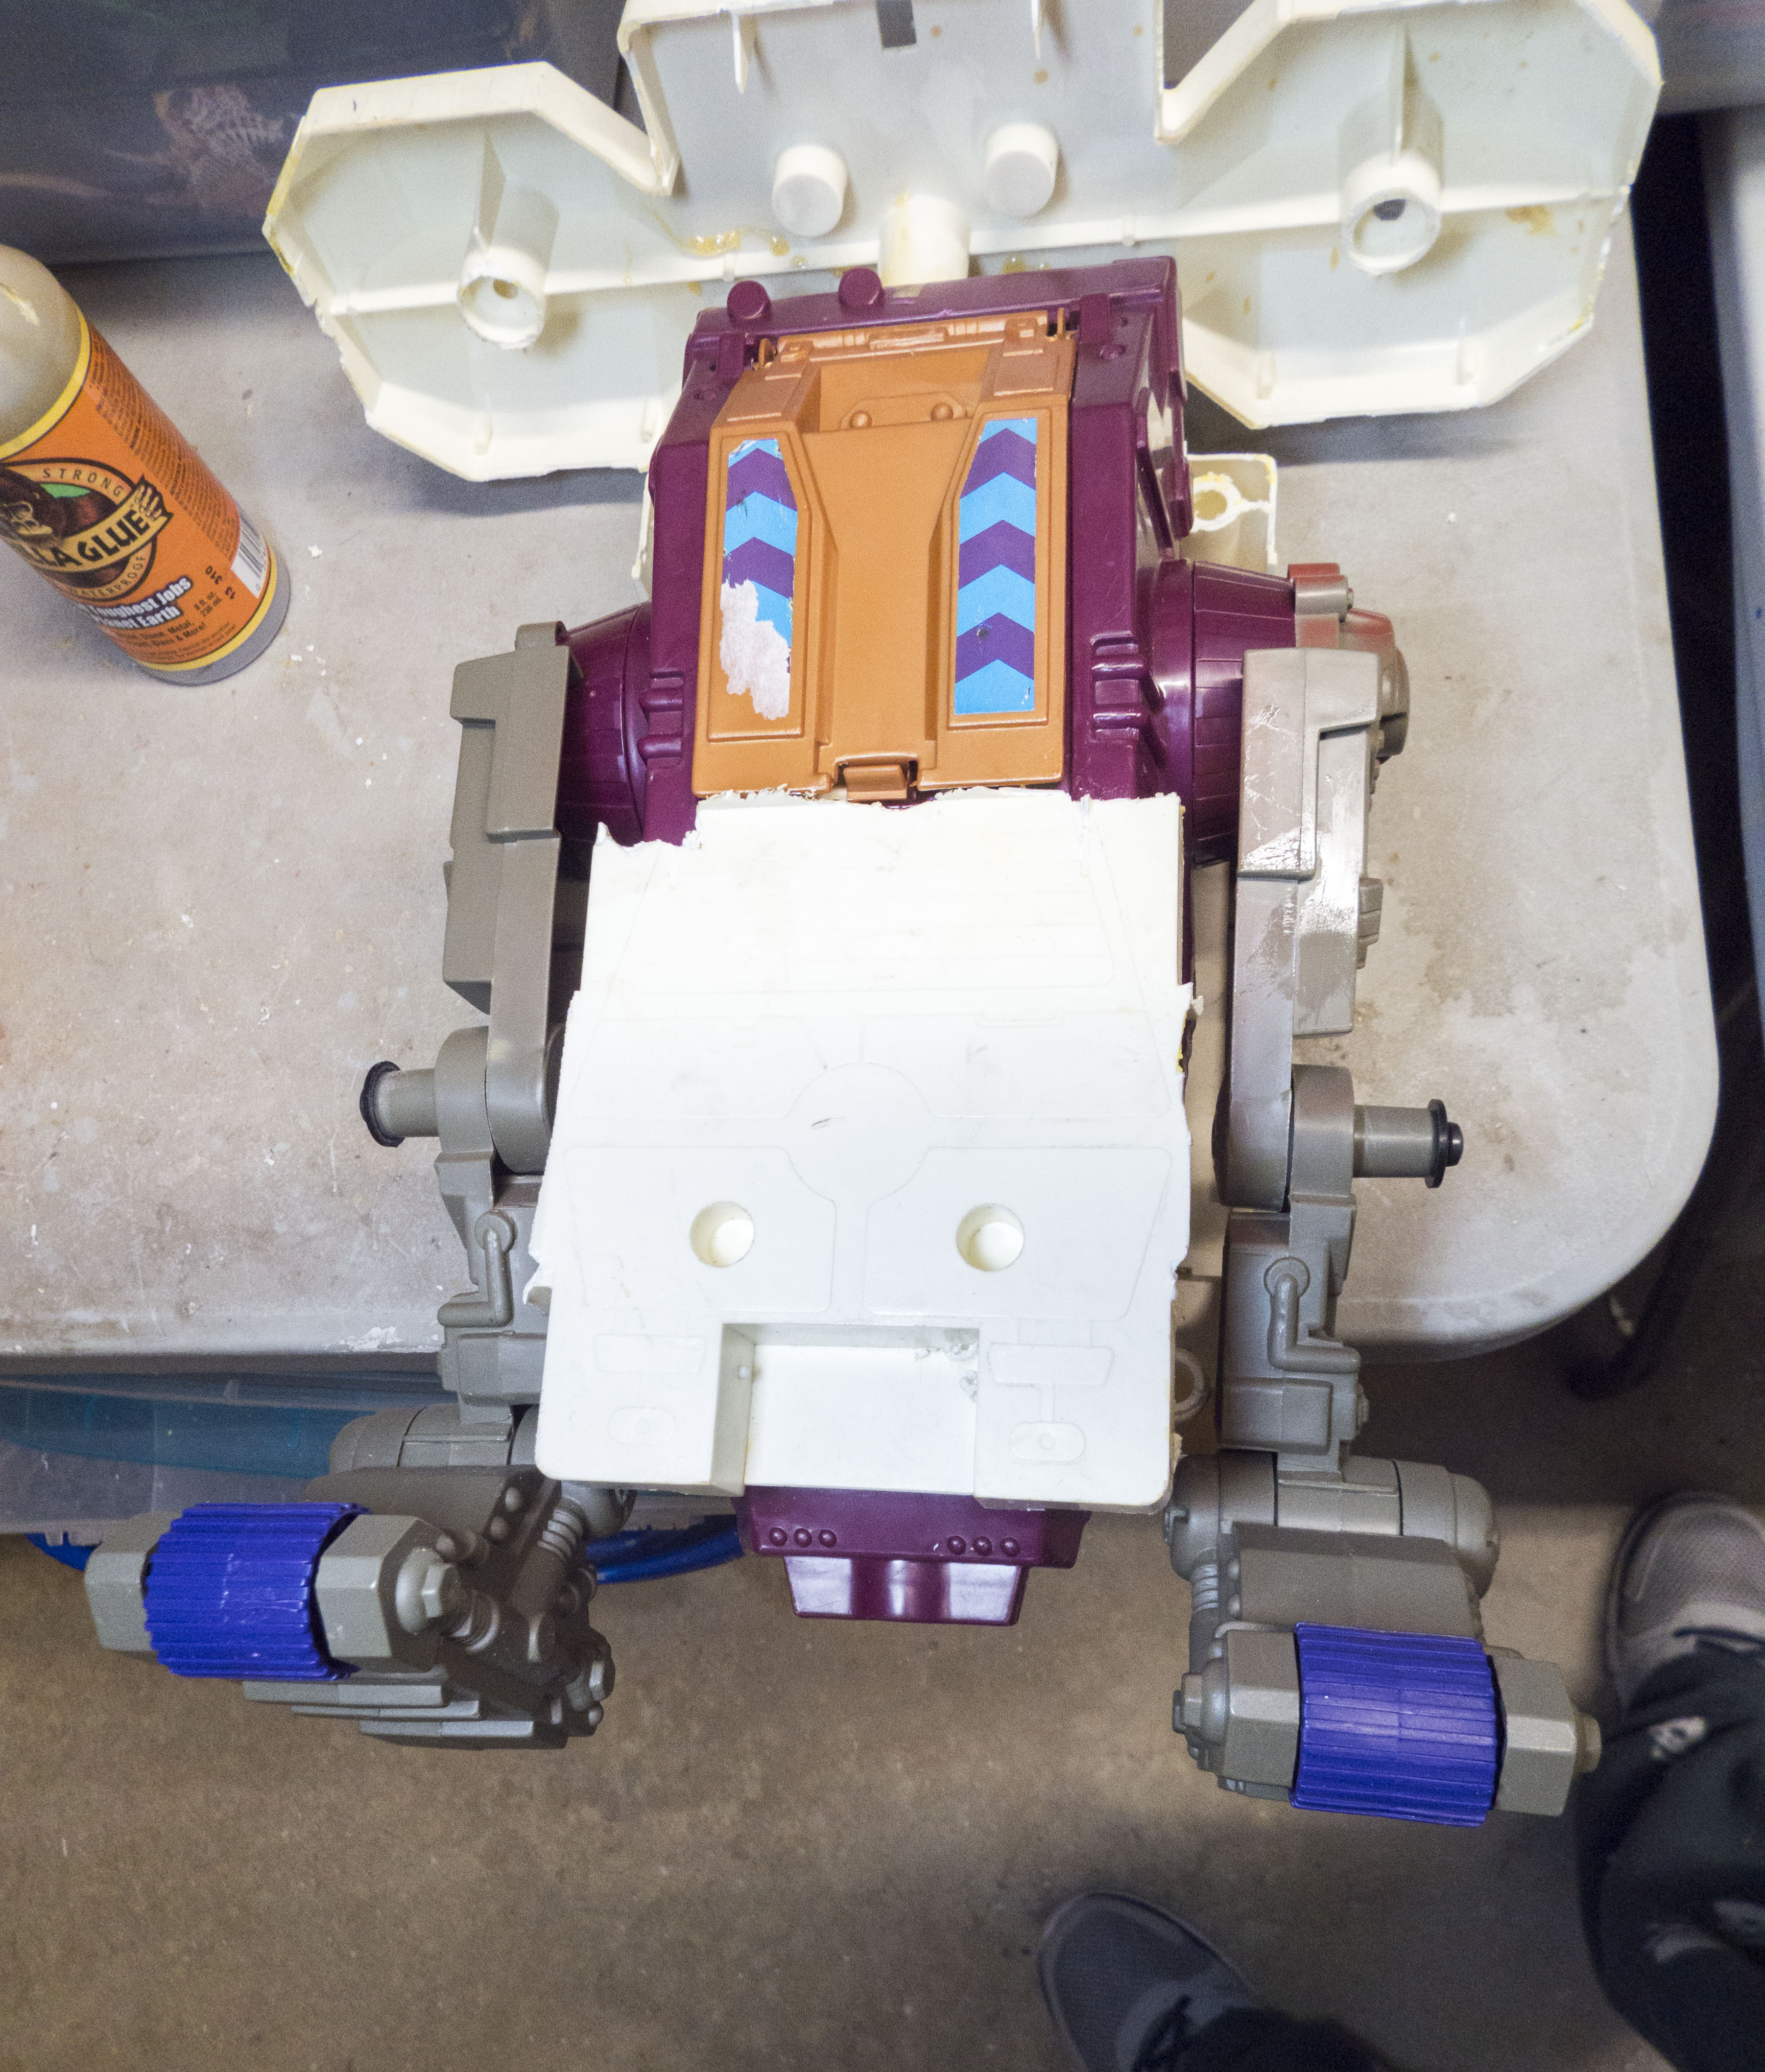
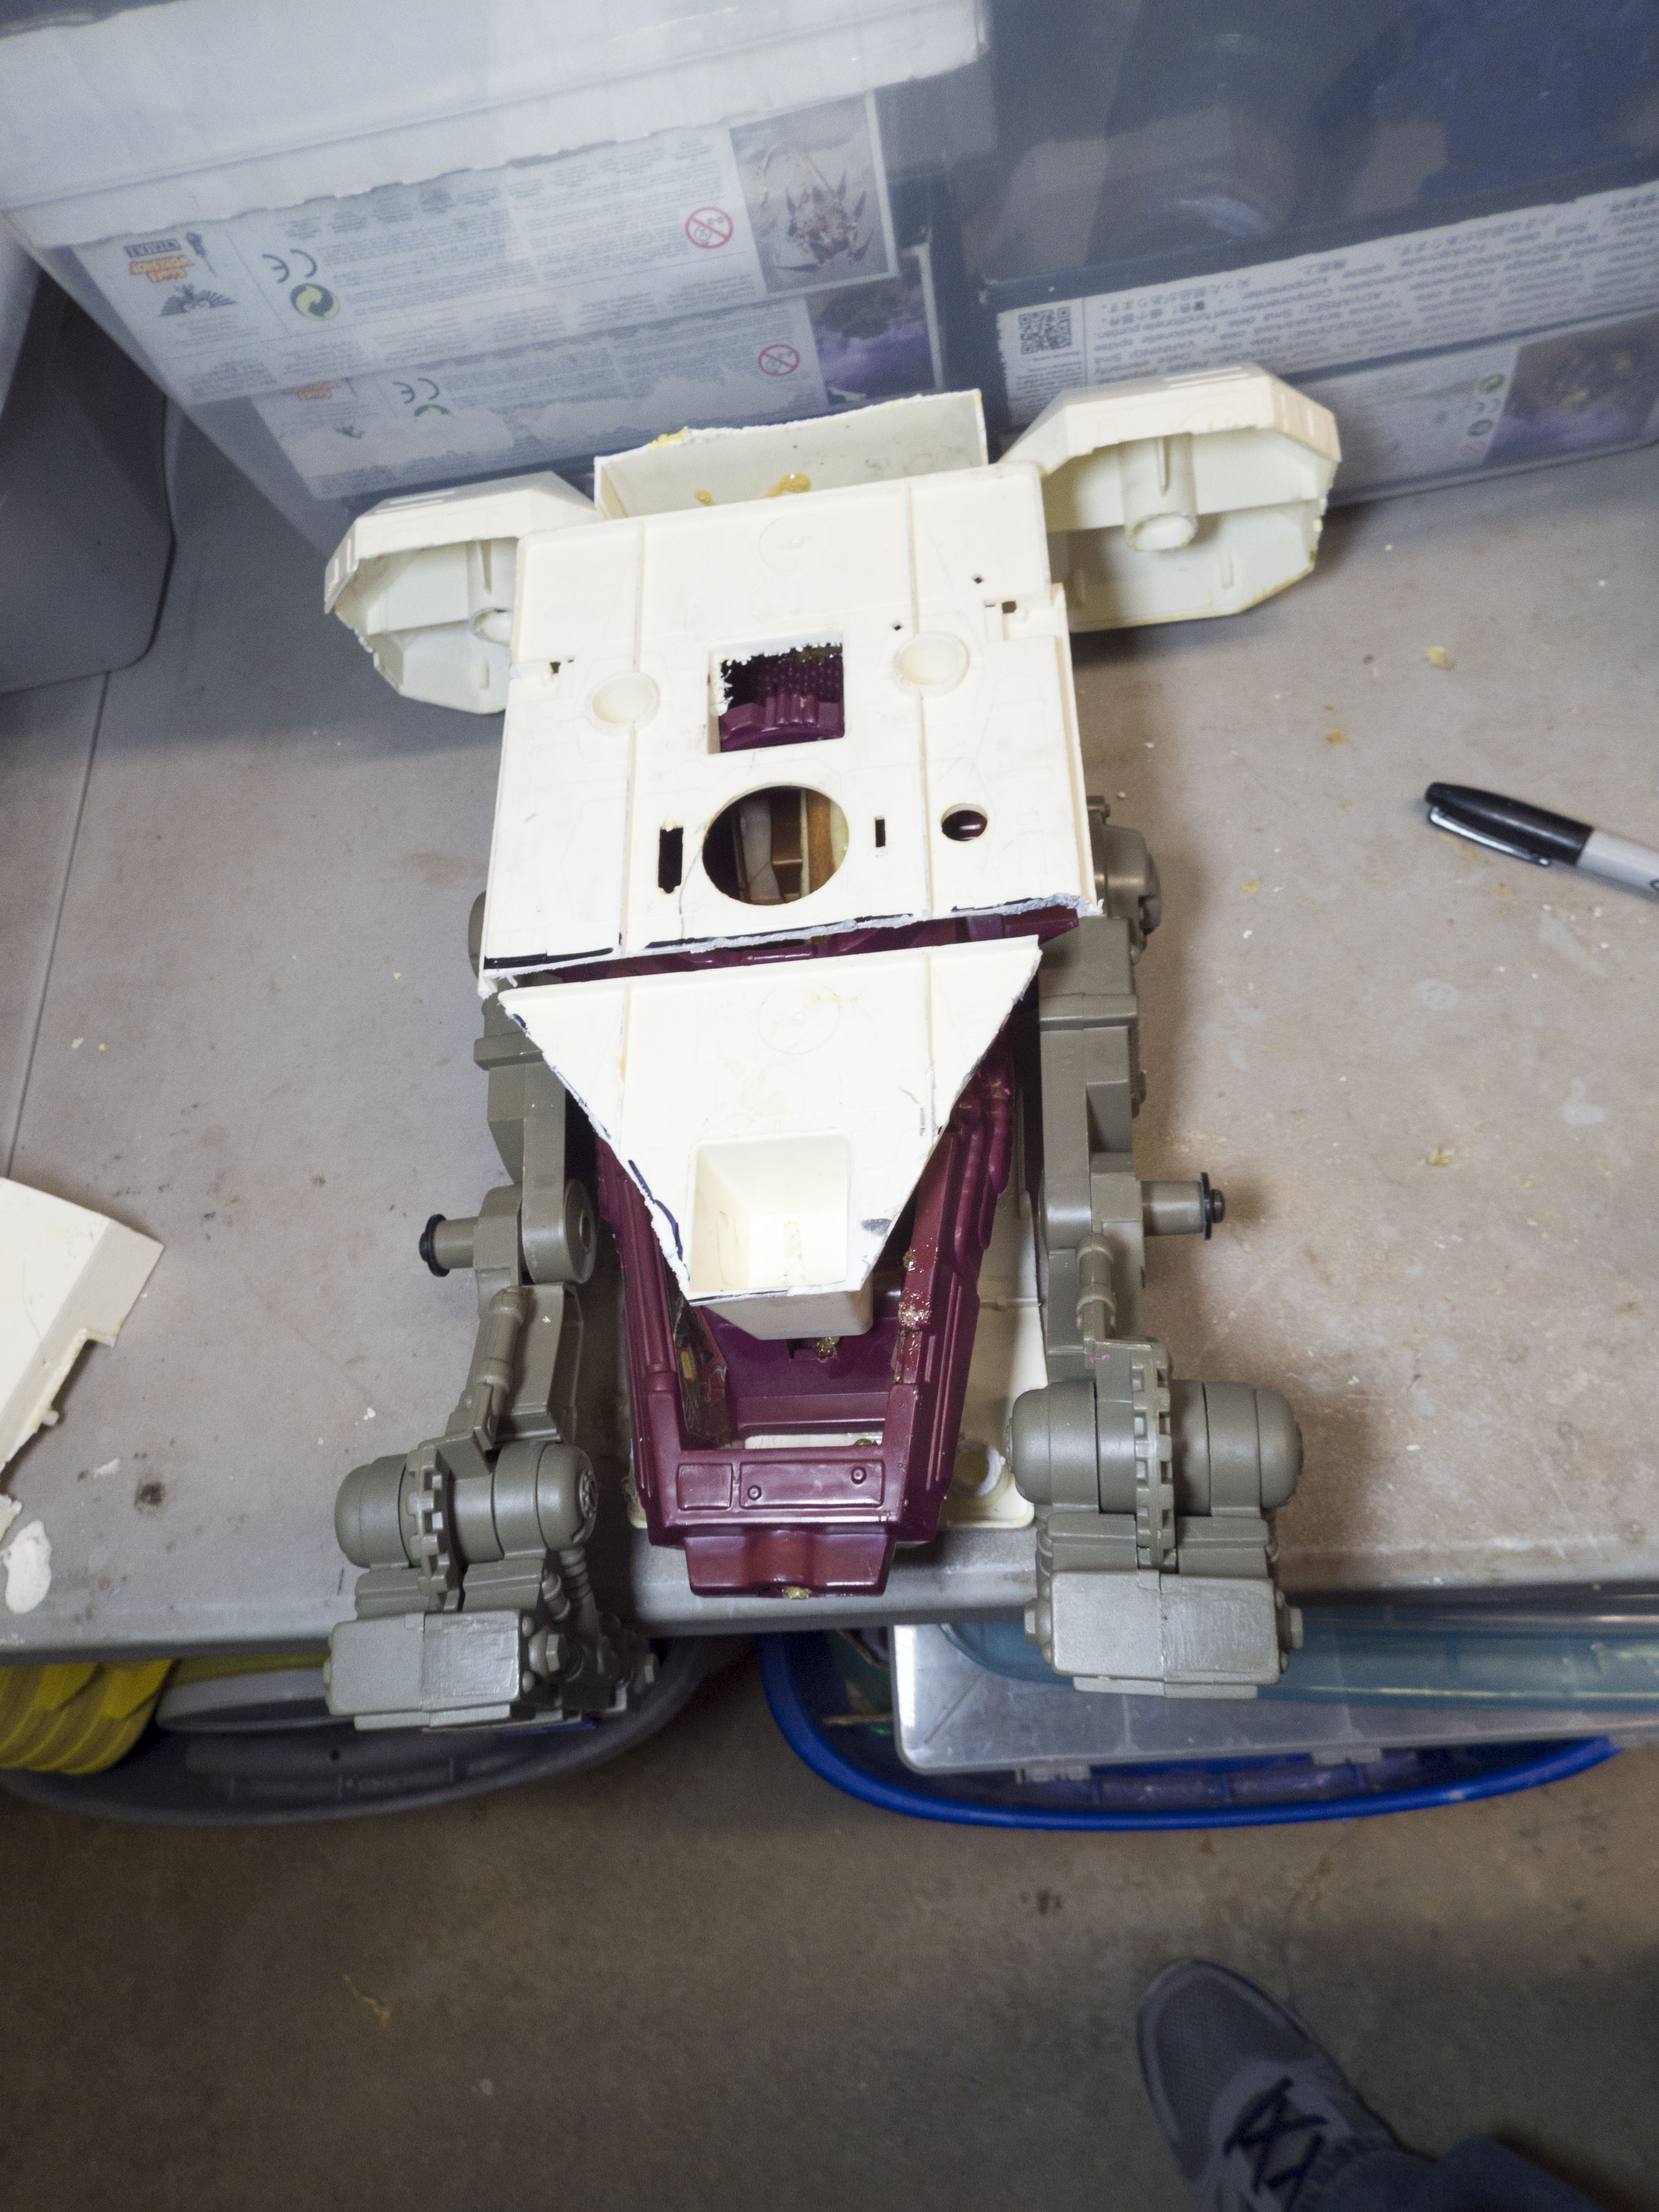

Don’t be afraid to let your model rest on it’s side or leaning up against something (see that blue thing I leaned the model against in the picture above) or standing upright overnight to dry in the right position and let gravity lend a hand. Just be sure to trim away any glue that drips off target the next day when it’s full dried. By the end of the first week, I have the basic structure in place and and ready to move on to adding more bulk. On thing about building models this way is that you’re never entirely for sure how the final model will look like. At first, I thought it would be more ‘stompa’ feeling, but now I think it’s going to end up more ‘Gorkanaut’ themed. Either way, it’ll be Orky and that’s good enough for me!
In part 2 of the project, you’ll see as the Supa Stompa continues to take shape, and we’ll start to really bulk out this bad boy! Maybe we’ll even get crazy and add a head!
White Metal Games is a miniature painting commission service based out of Raleigh, North Carolina.We specialize in producing custom models for any range, including wargames, board games, roleplaying games, historical figures, and display dioramas.
White Metal Games is currently going under a web-redesign. Come see the progress on our new web page as it develops!
And until next time, this is Caleb reminding you to PUT YOUR MINIS WHERE YOUR MOUTH IS!!!
Caleb Dillon
White Metal Games
If you enjoyed this article, be sure to like it, share it with others, and subscribe!