 Instagram
White Metal Games & The Army Painter Team up on a Display Board
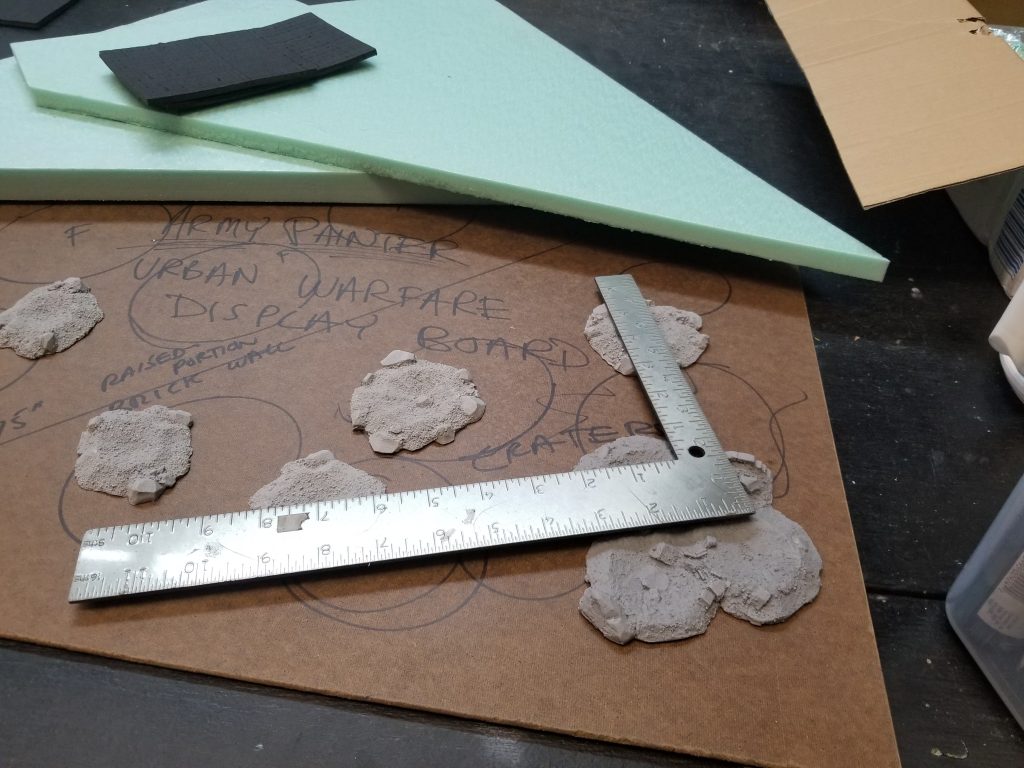
Every project begins with the concept. In the case of the display board we built for The Army Painter, the concept was a cratered, muddy, ruined, two-tier factory setting. We were given a specific size for the finished display and this was left mostly flat for six large flyer stands.
Here’s the head of our terrain department, Bryan, to tell us about the process.
“I usually do a quick and dirty sketch of the concept to get an idea of the composition, and then I build a quick “mock-up”. I’ll go grabbing bits I know I’ll be using, then I’ll start cutting foam to the basic shape of what I need, but no glue yet. Right now we’re making sure the concept and composition are sound and that whatever we envision in our minds can actually be made into reality with the materials and processes we plan on using. When you’re comfortable with everything, then it’s time to start building!

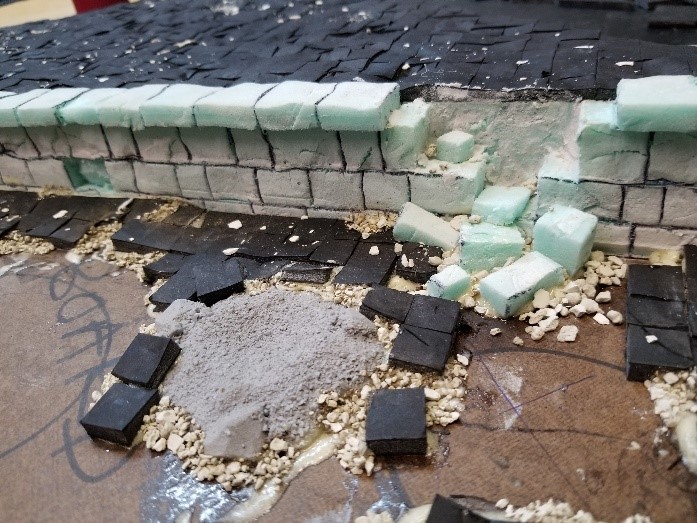
Just because our display board is going to be mostly flat doesn’t mean it won’t be detailed! “Flat” just means “More texture”! One cool effect we wanted to use was cracked and scattered tiles – you can achieve this effect by scoring one side of a sheet of foamcore to whatever size you wish and then glue the foamcore sheet down to your board with PVA or Gorilla Glue.
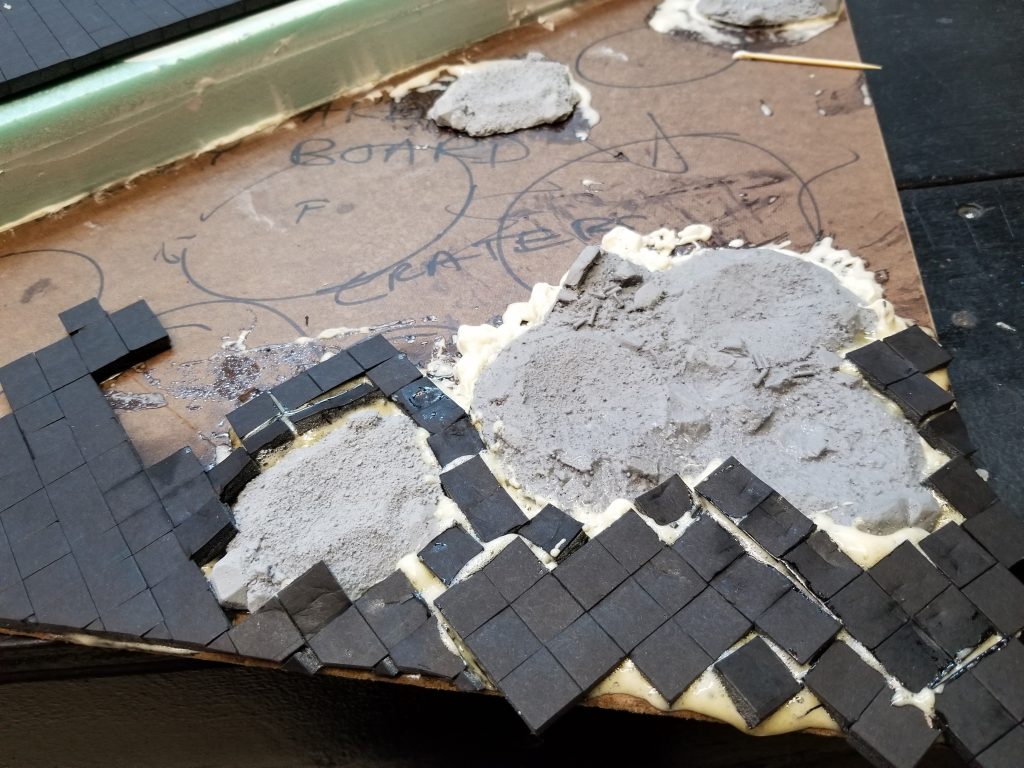
We glued some M3 Studios resin cast craters down with Gorilla Glue and then arranged some of the scored foamcore “tiles” around them. The Gorilla Glue swells and expands, and if you keep a watchful eye as it cures and occasionally push it back down, you can create some interesting buckling under the tiles.
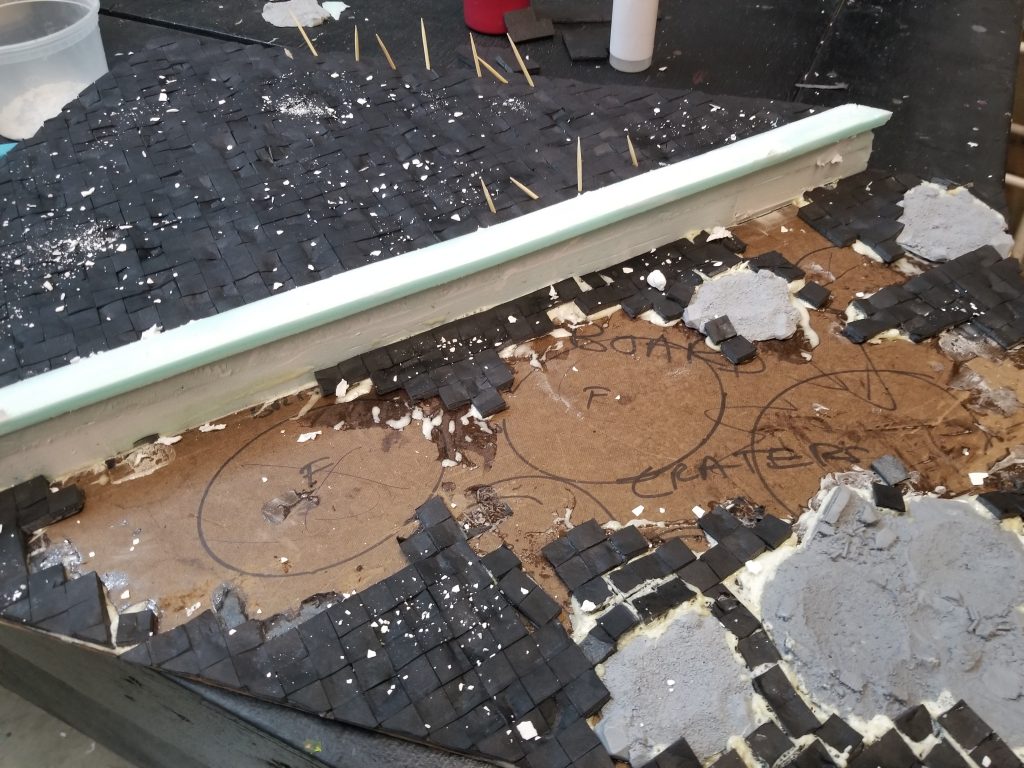

To help prevent warping and for added structural integrity, I like to skewer any foam being glued together with toothpicks and bamboo skewers from opposing directions, effectively “locking” the foam into place even without the glue. When it’s dry, the toothpicks can be clipped off and the remaining piece of it left in the board to act as rebar.
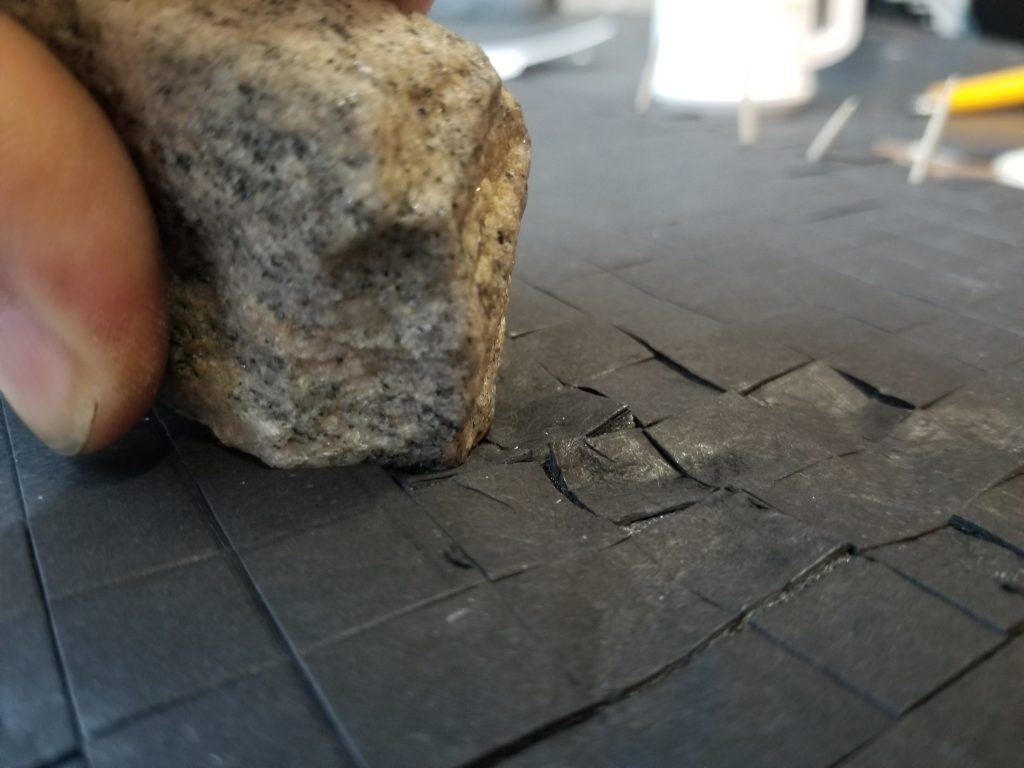
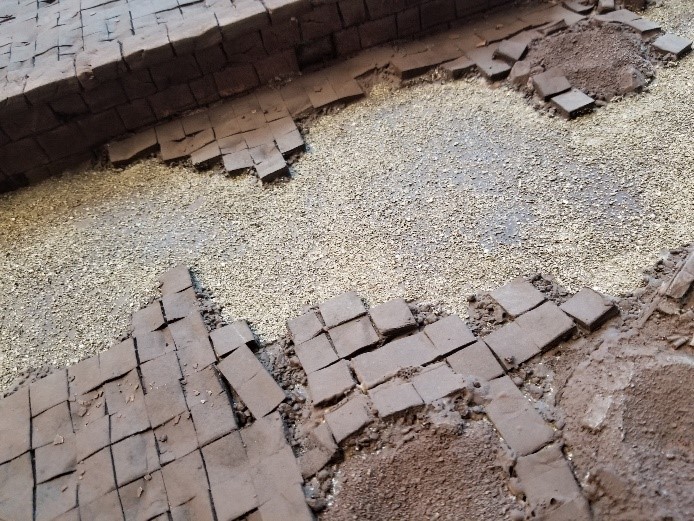
Remember all that foamcore we spent so much time scoring in a grid before? Now’s the fun part. Find a jagged, fist-sized rock outside. Carefully press the rock into the foamcore and twist it. This should separate the individual tiles and cary the height and angles a lot more, creating an aged, cracked, or war-torn look.
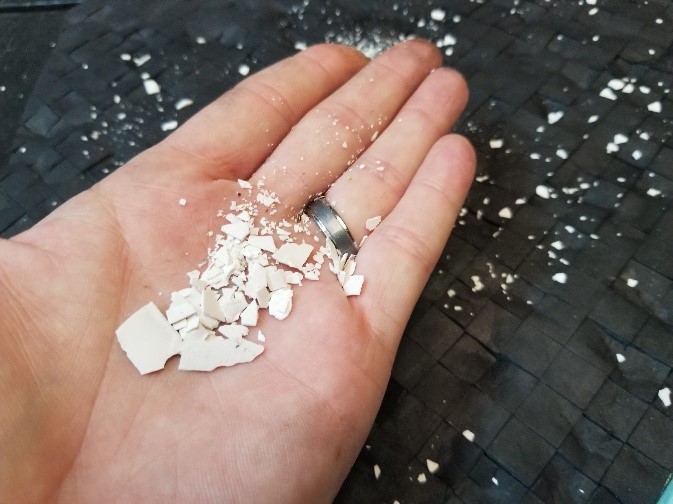
We had some thin hydrostone shavings left over from some castings we did and crumbled them up (You can use crushed baked eggshells if you don’t have hyrdostone, or anything to add an interesting texture), scattering them over the surface of the board with a 50/50 PVA/Water mix. Remember, you can add most anything to make those “flat” areas not so flat.

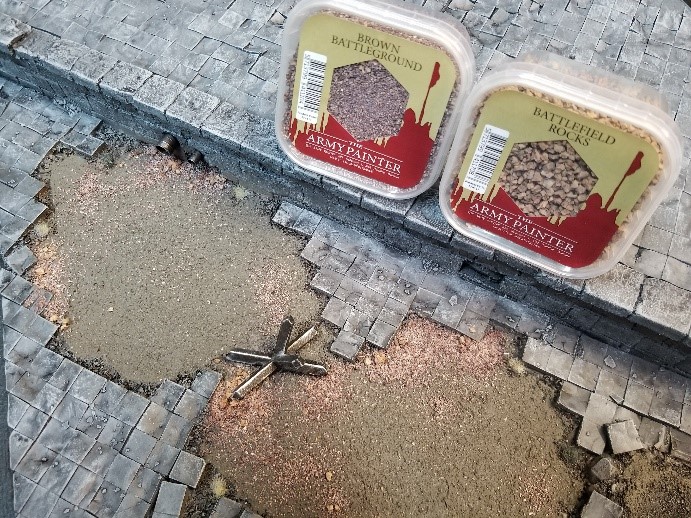
As a base for the different textures we used The Army Painter Brown Battleground & Battleground Rocks sprinkled over PVA, then primed black once dry. Any acrylic primer will act as a sealant for finer textures as well as protect the foam from being dissolved when you hit it with your rattle can spray paint.
And now for paint!
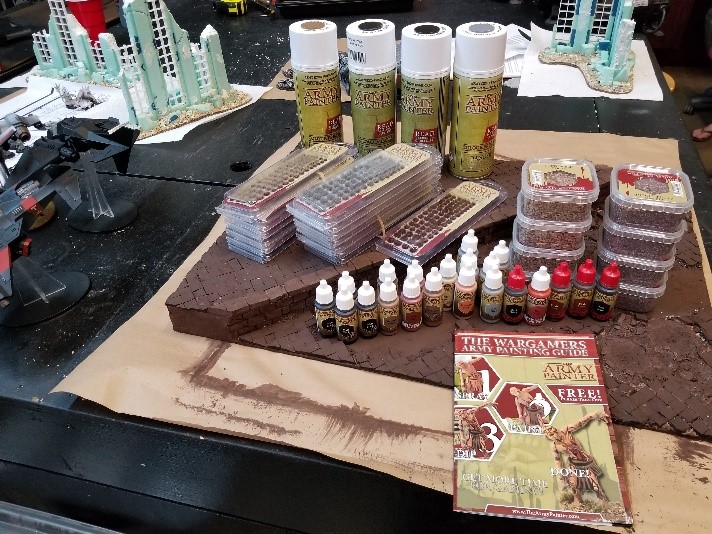
We primed everything black, then sprayed our mid-tones on with The Army Painter spray primers from the 10-2 O’Clock position to create some shadows and variation
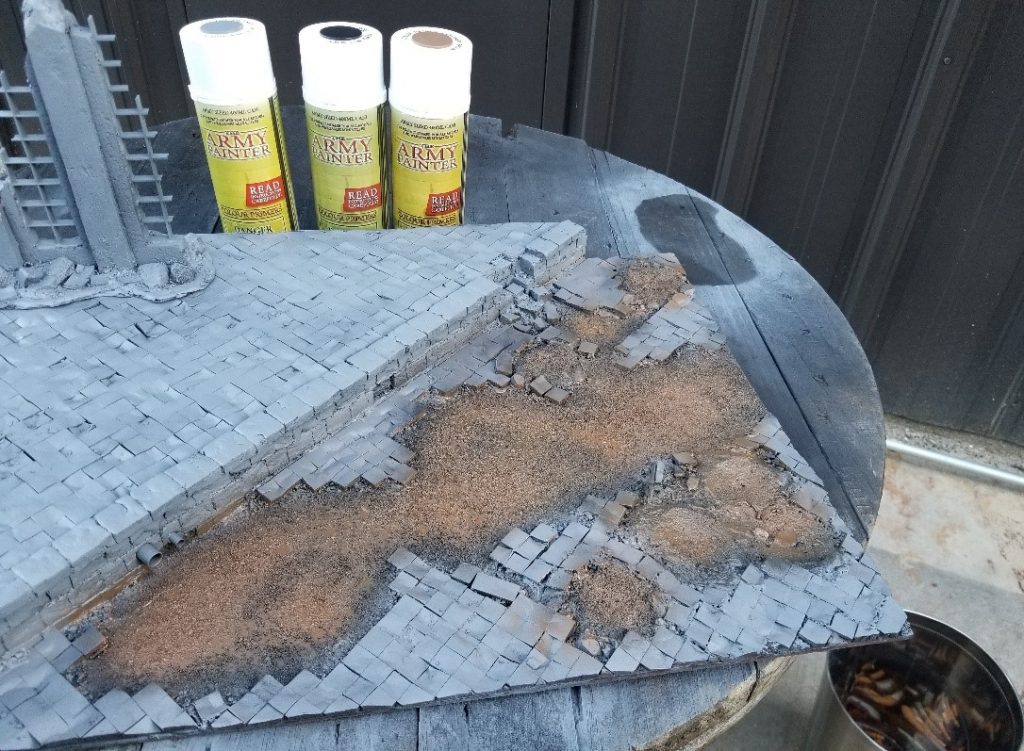
The entire board was given a coat of Strong Tone wash. You want to really slather it on and make sure it pools up in all the crevices and textures. Once dry, a simple drybrush with an off-white color really makes all the little details pop. And that’s about it for the process of a display/battle board like this. Thanks.”
And there you have it folks. We present to you The Army Painter war torn display board.
If you’re interested in a custom board for yourself, we invite you to check out the WMG terrain page by clicking HERE.
If you’d like more information on The Army Painter and their line of premium paints, visit them at www.thearmypainter.com.